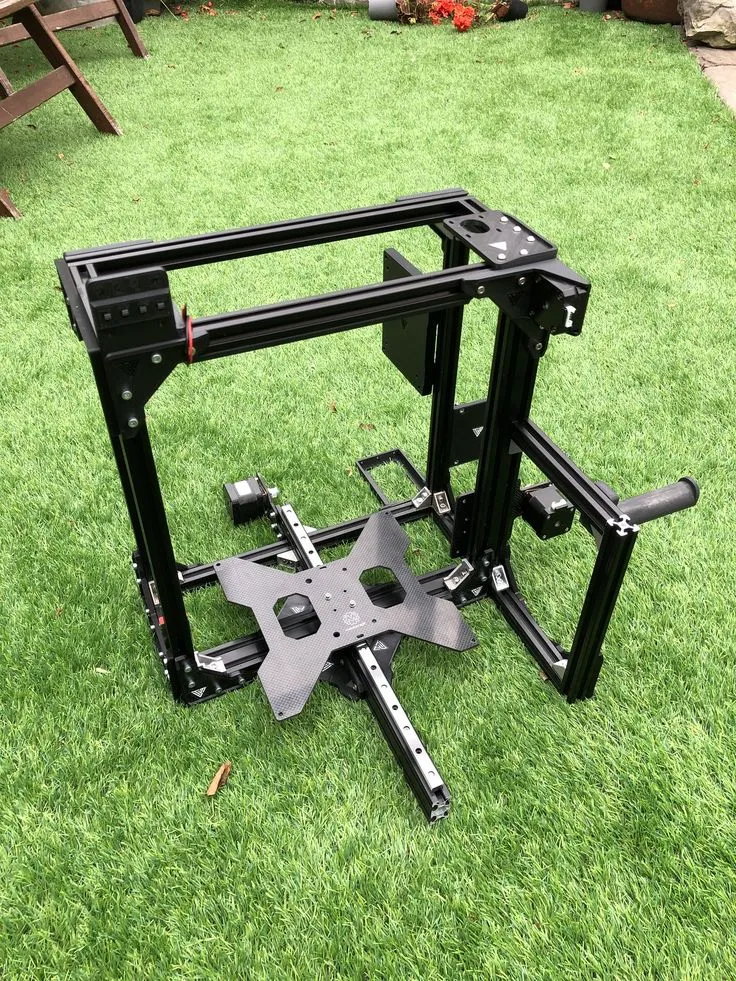
Understanding Your Tevo Tarantula
The Tevo Tarantula is a popular and affordable 3D printer that has gained a strong following within the 3D printing community. Its open-source nature and relatively simple design make it a great choice for beginners while still offering enough flexibility for experienced users to customize and improve. However, setting up and configuring your Tevo Tarantula can sometimes be a bit daunting, especially if you’re new to 3D printing. This guide will walk you through the essential configuration steps, offering practical tips and troubleshooting advice to help you achieve high-quality prints. Understanding the mechanics of your printer, from the heated bed to the extruder and the firmware, is the first step to successful 3D printing. Getting familiar with each component allows for better calibration and overall print quality. This will set the stage for smooth operation.
The Basics of Tevo Tarantula Configuration
Before diving into specific tips, it’s crucial to understand the core aspects of configuring your Tevo Tarantula. Configuration primarily involves adjusting settings in the printer’s firmware (typically Marlin) and within your slicing software (like Cura or PrusaSlicer). Firmware settings control the printer’s hardware behaviors such as temperature control and movement, while slicer settings dictate how your 3D model is translated into instructions for the printer. A fundamental understanding of these settings is essential. Proper configuration requires an understanding of concepts such as bed leveling, Z-offset calibration, extruder temperature and speed adjustments, and filament selection. Each of these directly impacts the quality and reliability of your prints. The process will likely involve making small adjustments and print tests. Throughout this guide, you’ll learn more about each.
Essential Tools for Configuration
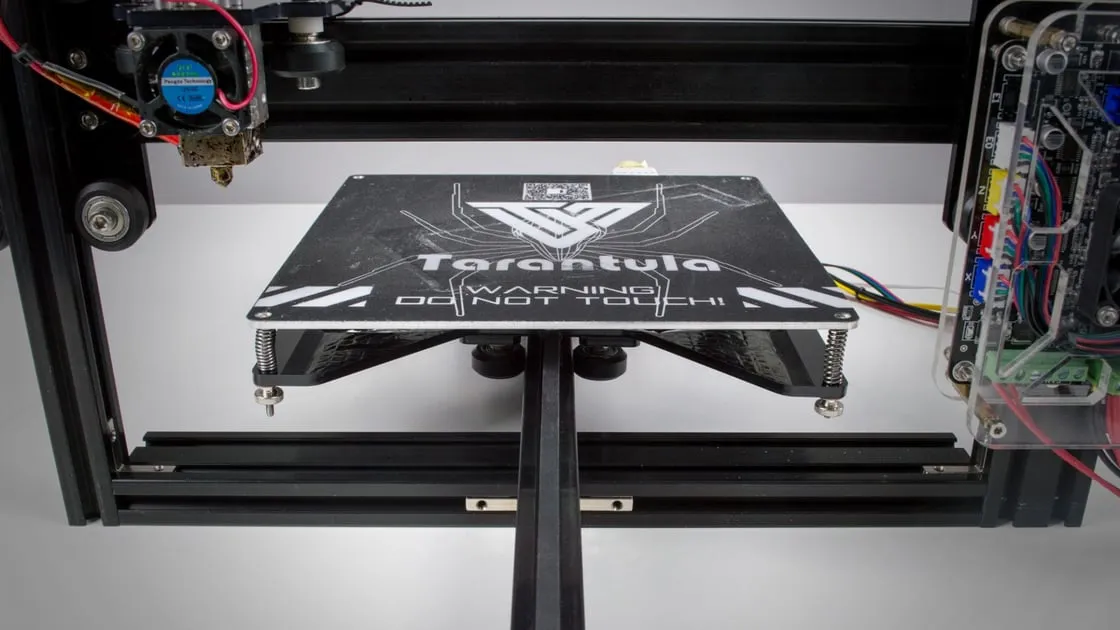
To configure your Tevo Tarantula effectively, you’ll need a few essential tools. These include a set of Allen wrenches (usually supplied with the printer), a digital caliper for accurate measurements, a piece of paper for bed leveling, and a screwdriver. Access to a computer is also necessary for running your slicing software. A level is also a good addition, as is a small brush to clean the printing bed, plus painter’s tape or glue stick for better adhesion if using specific filaments. A well-equipped workspace reduces frustration and helps ensure accurate adjustments. Having the right tools readily available makes the configuration process more efficient and less prone to errors. This makes setting up a much simpler and easier task.
Top 5 Easy Tevo Tarantula Config Tips!
Leveling the Bed for Perfect Prints
Bed leveling is perhaps the single most important factor in achieving successful prints. If your first layer doesn’t adhere properly, the entire print will likely fail. The Tevo Tarantula has a manual bed leveling system, which means you’ll need to adjust the bed’s height using the leveling screws located at each corner. Start by heating the bed to the appropriate temperature for your filament. Then, using a piece of paper, slide it between the nozzle and the bed. Adjust the leveling screws until the nozzle lightly grips the paper. Repeat this process at each corner of the bed. A properly leveled bed ensures that the first layer of your print adheres evenly, preventing warping and improving overall print quality. Consistency in bed leveling is key to ensuring your prints come out as you expect.
Adjusting the Z-Offset
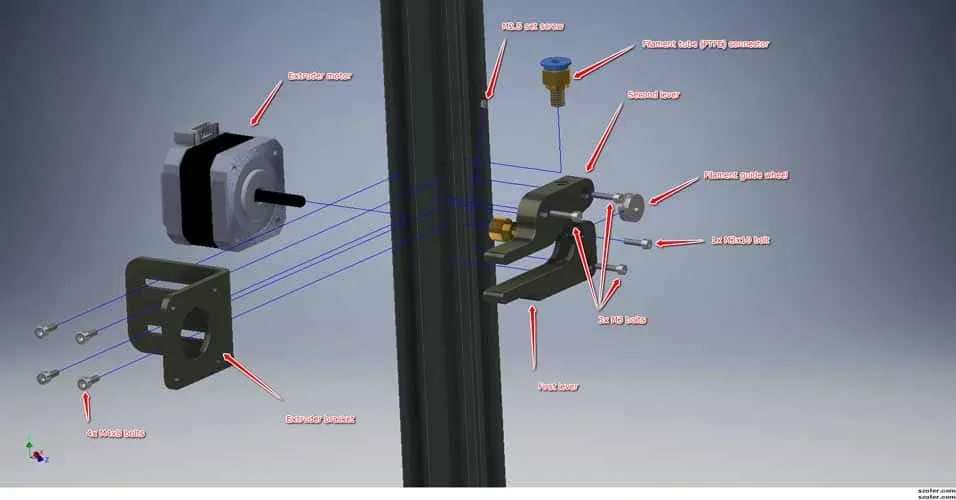
The Z-offset is the distance between the nozzle and the bed when the printer is at the Z=0 position. Incorrect Z-offset values result in prints that either don’t adhere to the bed (too high) or have the nozzle scraping against the bed (too low). You can usually adjust the Z-offset through your printer’s control panel or the slicer software. After leveling the bed, set the Z-offset, and then monitor the first layer as it is printed. If the first layer is too thin, increase the Z-offset slightly, and if it’s too thick, decrease it. Make small adjustments and print test squares until you achieve the ideal first layer. The Z-offset, when correctly configured, ensures that the filament is properly placed down, leading to successful print adhesion. This small detail can save you hours of failed prints.
Fine-Tuning the Extruder Temperature
The correct extruder temperature is essential for proper filament melting and extrusion. Using the wrong temperature can result in under-extrusion (leading to weak prints) or over-extrusion (resulting in blobs and stringing). The ideal temperature varies depending on the filament type. Check the filament manufacturer’s recommendations as a starting point, and then fine-tune the temperature through print tests. Start with the recommended temperature and adjust in increments of 5°C. Observe the print quality, paying attention to layer adhesion, stringing, and surface finish. Higher temperatures generally lead to better layer adhesion, while lower temperatures can reduce stringing. Experimenting and refining this will ensure your prints have the right temperature and consistency needed. This helps ensure optimal printing results.
Calibrating the Extruder Steps
Calibrating the extruder steps-per-millimeter (E-steps) ensures that the printer is extruding the correct amount of filament. Incorrect E-steps lead to either under-extrusion or over-extrusion, significantly impacting print quality and dimensional accuracy. You can calculate your E-steps by following several online guides, as the procedure typically involves marking the filament, extruding a specific length, and measuring the actual amount extruded. If the difference between the target and actual extrusion is significant, you’ll need to update the E-steps value in your printer’s firmware. Proper calibration ensures that the printer is extruding the right amount of filament, which is critical for the dimensional accuracy and overall quality of your prints. Accurate E-steps are a fundamental requirement for successful 3D printing.
Slicing Settings Optimization
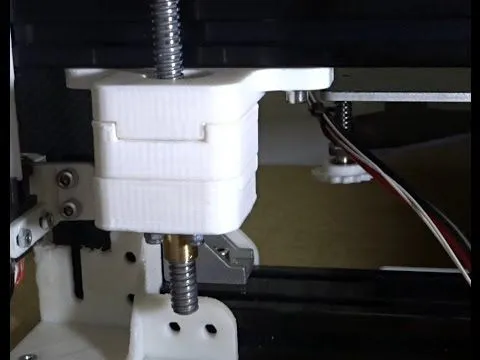
Slicing software, like Cura and PrusaSlicer, converts your 3D models into instructions for the printer. Optimizing the slicing settings can greatly improve print quality and reduce print times. Key settings to adjust include layer height (thinner layers for smoother prints), infill density (for part strength), print speed (balance between quality and speed), and support structures (for overhanging features). Experimenting with different settings is key, as the optimal configuration varies depending on the specific model and filament used. Making minor adjustments and testing settings can have a large impact on the quality and speed of printing. With practice, it is easy to discover the perfect combination of settings to yield excellent results with each print.
Optimizing Print Speed and Acceleration
Print speed and acceleration settings directly affect print time and quality. Higher speeds can reduce print times, but can also lead to reduced print quality if the printer cannot keep up with the movements. Acceleration affects how quickly the printer can change direction, and high acceleration values can cause vibrations and ringing in your prints. Balancing print speed and acceleration requires careful adjustment. Start by reducing the print speed and acceleration in your slicer software, printing a test object, and gradually increasing them until you notice a decline in print quality. The ideal values are a balance of speed and quality, as the printer is capable of printing quickly while still maintaining a high quality finish. Find these settings for your specific setup.
Troubleshooting Common Tevo Tarantula Issues
Filament Adhesion Problems
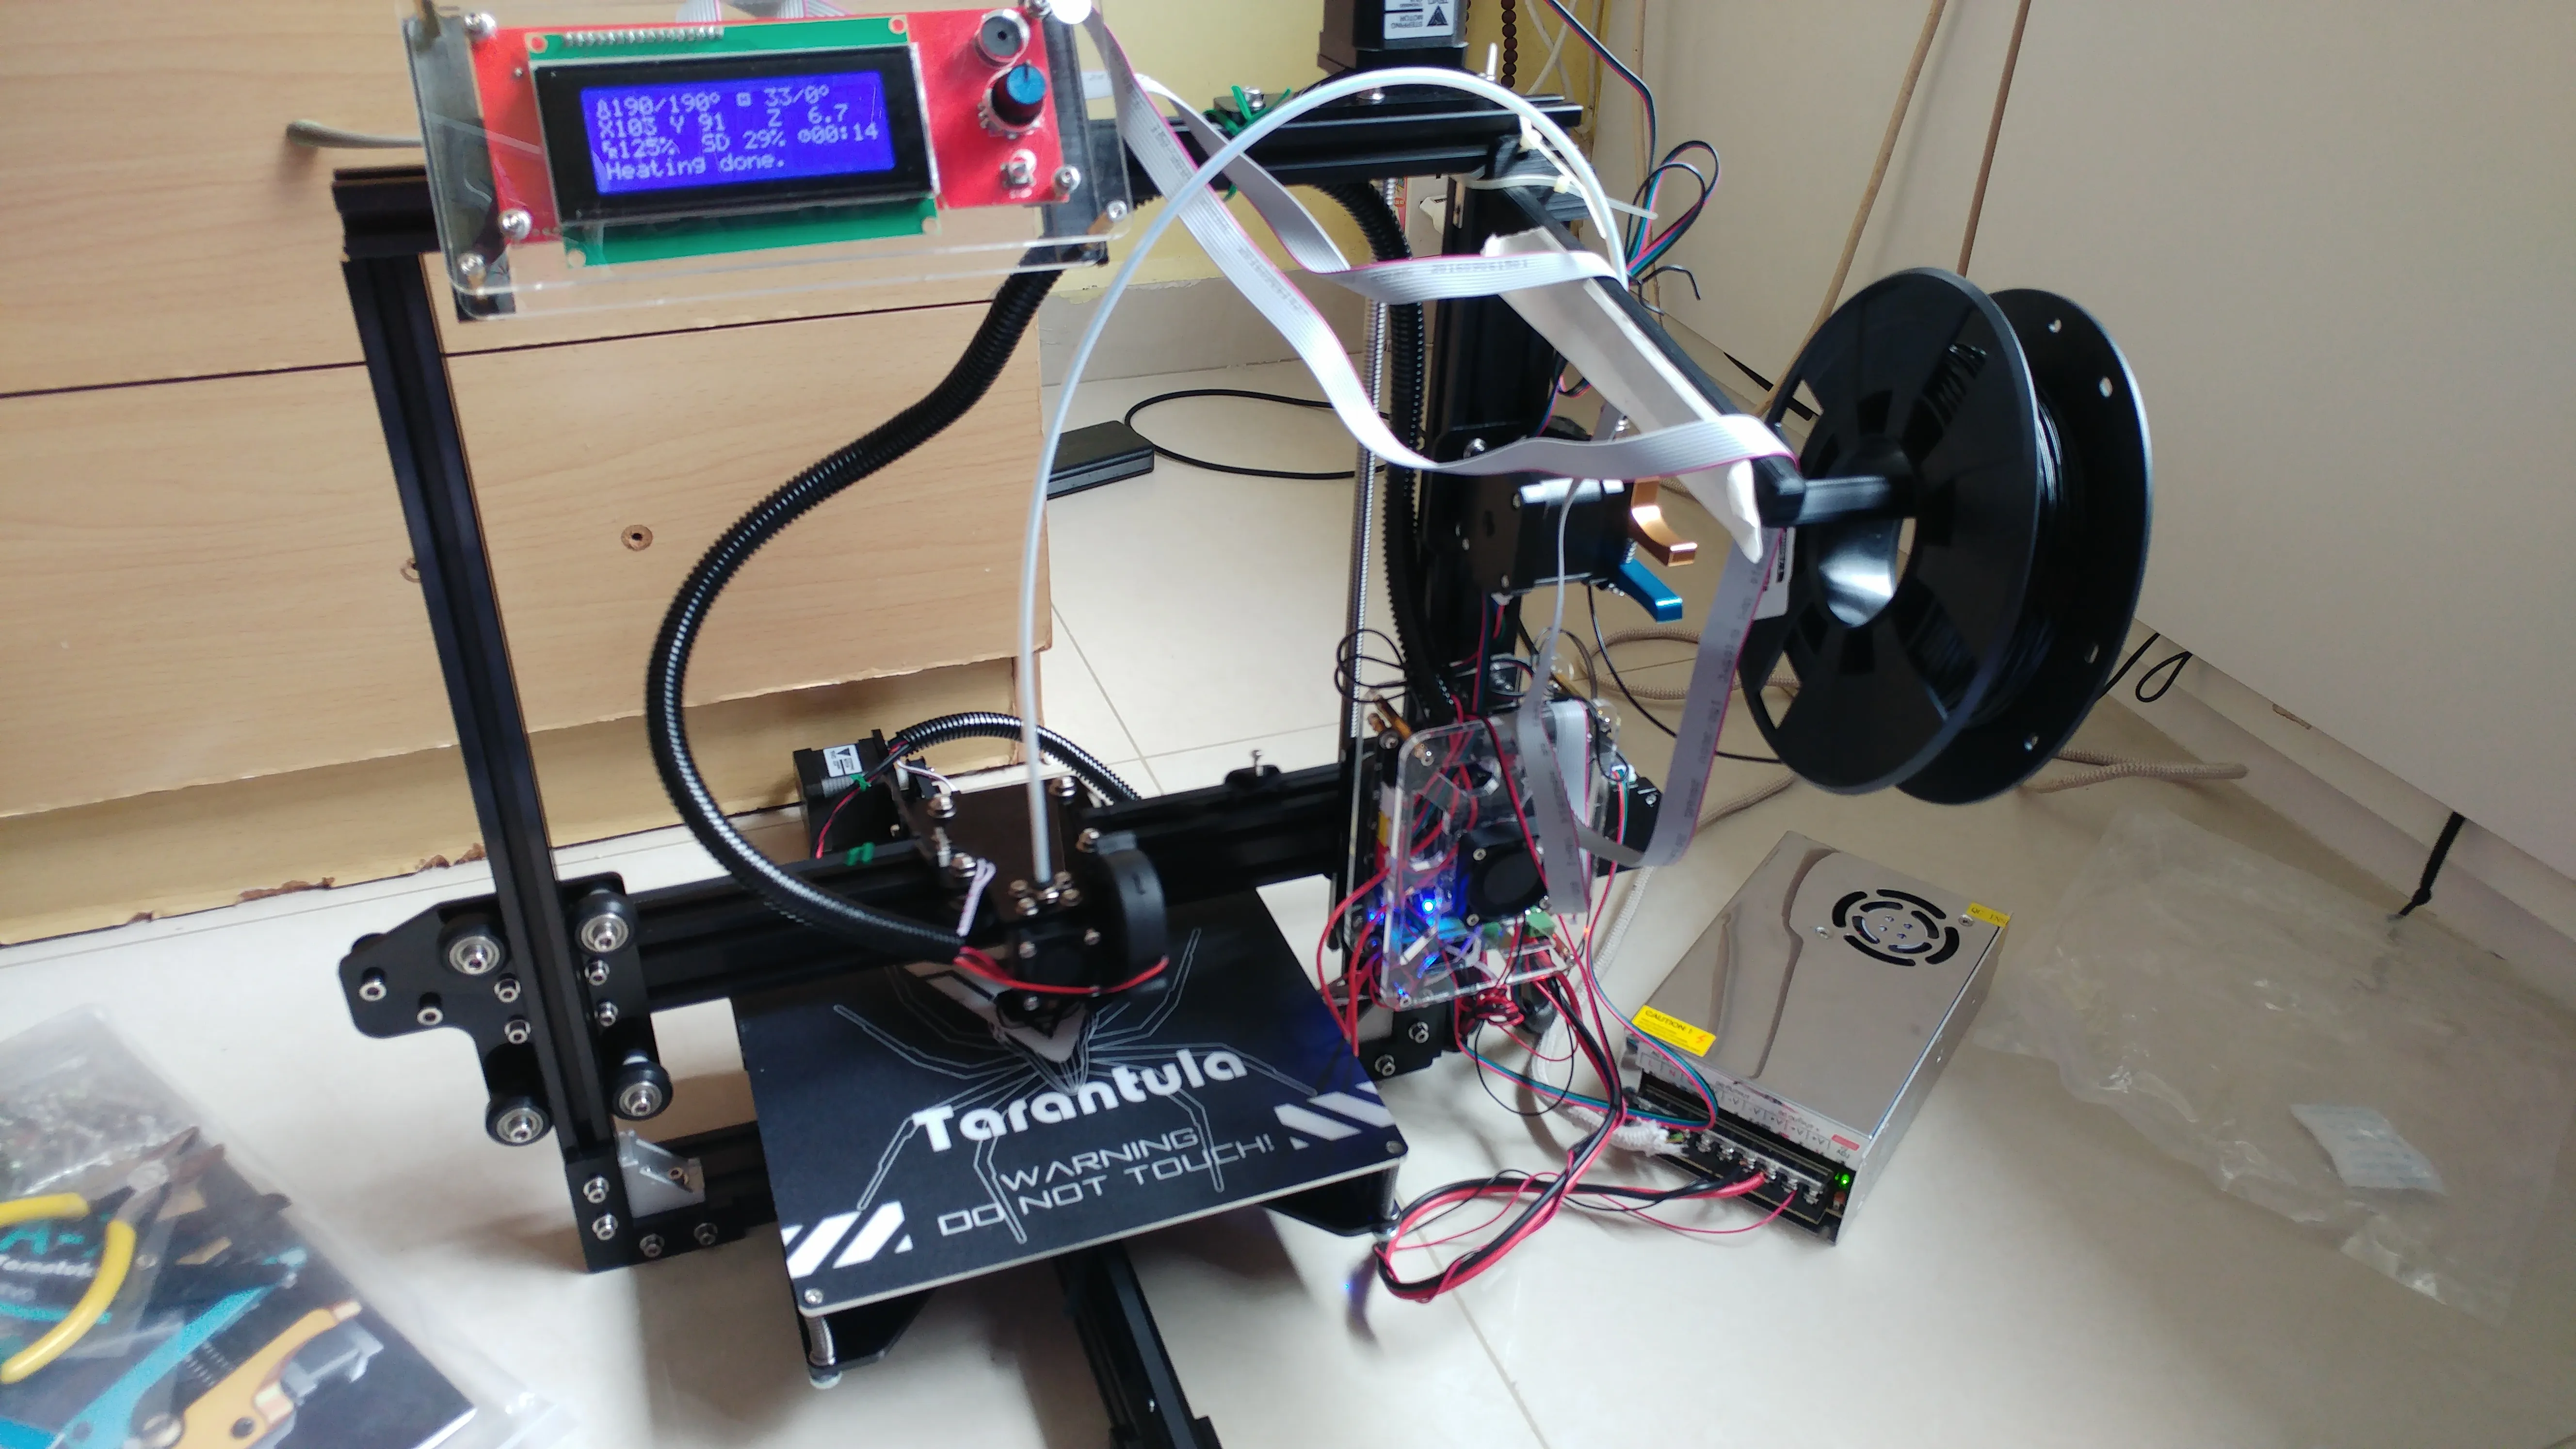
Poor bed adhesion is a common issue that can lead to failed prints. Ensure that your bed is clean and level. The correct Z-offset is also very important, as well as adjusting the initial layer print speed. Applying painter’s tape or a glue stick to the bed can improve adhesion for many filaments. For some filaments (like PETG), a slightly higher bed temperature might also be necessary. Using a brim or raft in your slicer software can also help increase the surface area of the first layer, leading to better adhesion. Understanding how to maintain a clean and properly prepped bed will help prevent print failures. This will save time, material, and frustration as you configure and print.
Nozzle Clogging Solutions
Nozzle clogs can disrupt printing and require troubleshooting. Clogs can occur due to debris in the filament, incorrect printing temperatures, or the degradation of filament. First, try to unclog the nozzle by heating it up and pushing the filament through it. If that doesn’t work, you can use a needle or a specialized nozzle cleaning tool to remove the clog. Preventative measures include filtering your filament to remove any dust or debris and ensuring that you are using the correct printing temperatures. Always load and unload filaments properly to avoid this issue. Regularly cleaning the nozzle can prevent blockages and prolong the life of the nozzle itself.
Layer Shifting Troubleshooting
Layer shifting occurs when the layers of your print are not aligned correctly. This can be caused by several factors, including loose belts, insufficient motor current, or the printer’s movement speeds. To fix this, start by checking the printer’s belts for tightness. Tighten them if necessary. Make sure the motor current is correct, and reduce the print speed and acceleration if the shifting seems to occur at higher speeds. Inspecting your printed models can often point to an issue, as can listening to the printer itself. Also, make sure nothing is obstructing the movement of your printer’s axis. Layer shifting can be a frustrating issue, but usually, can be solved by adjusting the printer’s mechanical settings.
By following these tips and troubleshooting suggestions, you can optimize your Tevo Tarantula configuration to achieve reliable and high-quality 3D prints. Consistent configuration will allow you to be proficient in producing 3D prints with this 3D printer. Experiment, document your findings, and continue to refine your settings to unlock the full potential of your 3D printer. Happy printing!
