Understanding the Tevo Tarantula E1 Heating Failed Error
The Tevo Tarantula E1 heating failed error is a common issue encountered by 3D printing enthusiasts. This error indicates that the printer’s control system is not receiving the expected temperature readings from the hotend, or that it’s unable to achieve the target temperature within a set timeframe. This can halt your print and lead to frustration. Understanding the root causes of this problem is the first step in getting your printer back up and running. This guide will explore the most frequent culprits and provide actionable solutions to resolve the E1 heating failed error, allowing you to resume your 3D printing projects with confidence.
Common Causes of Tevo Tarantula E1 Heating Failure
Several factors can trigger the E1 heating failed error. Identifying the specific cause is crucial for an effective fix. The most common issues include a faulty thermistor, a malfunctioning heating cartridge, problems with the power supply, wiring and connection issues, and software or firmware related problems. Each of these components plays a critical role in the heating process, and a failure in any of them can result in the E1 error. We’ll delve into each of these potential problems in detail, providing step-by-step troubleshooting guides and solutions to get your Tevo Tarantula back in working order.
Faulty Thermistor
The thermistor is a crucial component responsible for measuring the hotend’s temperature. If the thermistor is damaged or has come loose, the printer won’t be able to accurately read the temperature, leading to the E1 error. A damaged thermistor will often present with erratic temperature readings or display a constant, incorrect temperature. Inspecting and testing the thermistor is essential to rule it out as the source of the problem and will save you a lot of time troubleshooting other parts of your printer.
Testing the Thermistor
Testing the thermistor requires a multimeter set to measure resistance (Ohms). Disconnect the thermistor wires from the mainboard. At room temperature, the thermistor should have a specific resistance value, usually around 100k Ohms for most 3D printers, but this can vary. Consult your printer’s specifications or the thermistor’s datasheet for the correct value. As you heat the thermistor (e.g., with a heat gun or by holding it gently), the resistance should decrease smoothly. If the resistance reading is significantly off, unstable, or doesn’t change, the thermistor is likely faulty. Also inspect the wires and connections of the thermistor for any damage.
Replacing the Thermistor
If the thermistor is faulty, replacement is necessary. Disconnect the old thermistor wires from the mainboard and the hotend. Carefully remove the old thermistor, noting how it’s mounted. Install the new thermistor, ensuring it’s securely in place within the hotend block. Reconnect the wires to the mainboard, making sure to match the polarity if applicable. After replacement, ensure the new thermistor’s resistance matches the specifications for your printer. Check the temperature readings on your printer’s control panel after the replacement to confirm the issue has been resolved. A new thermistor is relatively inexpensive and will quickly get you back to printing.
Issues with the Heating Cartridge
The heating cartridge provides the heat for melting the filament. If this component fails, the hotend won’t reach the desired temperature. Heating cartridges can burn out, develop internal shorts, or their connections can become loose. A malfunctioning heating cartridge is a common cause of the E1 error. Identifying this issue is crucial for a swift resolution, as this may be the source of your problem. Check the heating cartridge for any physical damage like cracks or fraying wires.
Testing the Heating Cartridge
Use a multimeter to test the heating cartridge. Disconnect the heating cartridge wires from the mainboard. Set your multimeter to measure resistance (Ohms). Measure the resistance across the cartridge’s terminals. The resistance should be a specific value, typically between a few Ohms to several tens of Ohms, depending on the cartridge’s voltage and wattage. Consult the cartridge’s specifications to determine the correct resistance. If the resistance reading is significantly off, open circuit (infinite resistance), or short circuit (zero resistance), the heating cartridge is likely defective. Also check the wires and connections for damage.
Replacing the Heating Cartridge
Replacing the heating cartridge involves disconnecting the old cartridge from the mainboard and the hotend. Carefully remove the old cartridge from its housing, noting how it is mounted. Install the new cartridge, ensuring it’s securely mounted within the hotend block. Reconnect the wires to the mainboard, being mindful of the polarity. Once the new cartridge is installed, test the printer by heating the hotend to ensure it reaches the correct temperature. If it still fails, recheck the connections and consult your printer’s documentation or online resources for further troubleshooting. A new heating cartridge is an easy replacement that often solves the E1 error.
Problems with the Power Supply
The power supply unit (PSU) delivers the necessary voltage to the heating cartridge. If the PSU isn’t providing enough power, the hotend won’t reach the required temperature, which can trigger the E1 error. PSU failures can occur over time, often due to component degradation, power surges, or overloading. Inspecting the PSU is therefore an important step in troubleshooting this common problem. A malfunctioning power supply can affect not only the heating cartridge but also other components on the printer.
Checking the Power Supply Voltage
Use a multimeter to check the output voltage of the power supply. With the printer turned on, measure the DC voltage across the power supply terminals. The voltage should match the specifications of your printer, typically 12V or 24V. Consult your printer’s manual or the power supply label for the correct voltage. If the voltage is significantly lower than the specified value, the power supply may be faulty and should be replaced. Ensure the PSU is plugged into a properly grounded outlet. Check for any visible signs of damage such as bulging capacitors or burned components on the PSU.
Replacing the Power Supply
If the power supply is found to be faulty, replace it with a new one that matches the specifications of your printer. Disconnect the old PSU, carefully noting the wiring connections to the mainboard and other components. Install the new PSU, connecting the wires correctly. Double-check all connections to ensure they are secure. After replacing the PSU, test the printer by turning it on and attempting to heat the hotend to the target temperature. If the E1 error persists, continue troubleshooting other potential causes. Choose a reputable brand for the power supply to ensure reliability and safety.
Wiring and Connection Issues
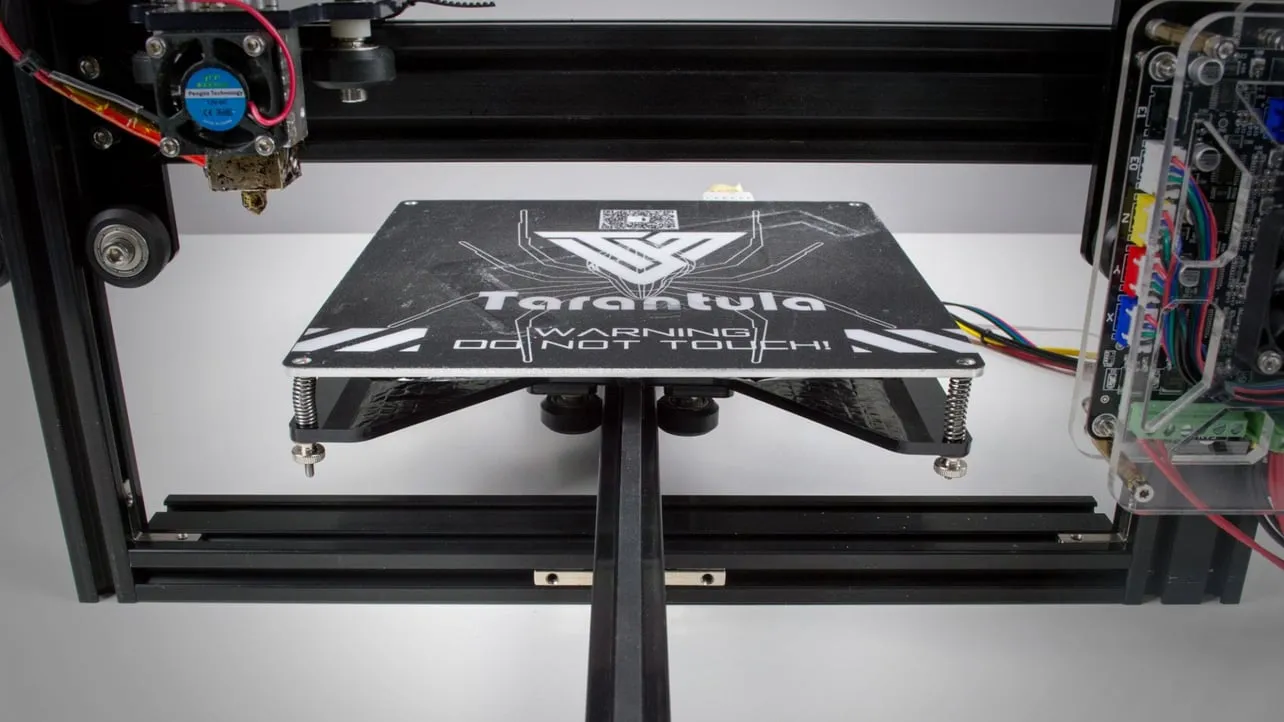
Loose or damaged wiring and connections between the mainboard, thermistor, and heating cartridge can interrupt the flow of power and data, leading to the E1 heating failed error. Vibrations during printing and general wear and tear can cause these connections to loosen over time. A simple inspection of the wiring can often reveal the problem. Also, damaged wires can cause shorts or open circuits, which also will lead to issues.
Inspecting Wiring and Connectors
Carefully inspect all wiring and connectors associated with the hotend, thermistor, and heating cartridge. Look for any signs of damage such as frayed wires, broken insulation, or loose connections. Check the connectors on the mainboard, ensuring they are securely plugged in. Examine the crimps on the wires for corrosion or damage. Gently tug on each wire to check for secure connections. A visual inspection can reveal a lot about your wiring.
Recrimping or Replacing Connectors
If you find loose or damaged connectors, recrimp the wires or replace the connectors. Use a proper crimping tool to ensure a secure connection. If the wires are frayed or damaged, cut off the damaged section and strip the wire ends before recrimping or inserting them into a new connector. When replacing connectors, make sure the connections are correct. If you are not comfortable with electrical work, it’s best to seek help from someone experienced with 3D printers. Ensure that all connections are tight before proceeding. Replacing damaged connections can often resolve the E1 error.
Firmware and Software Problems
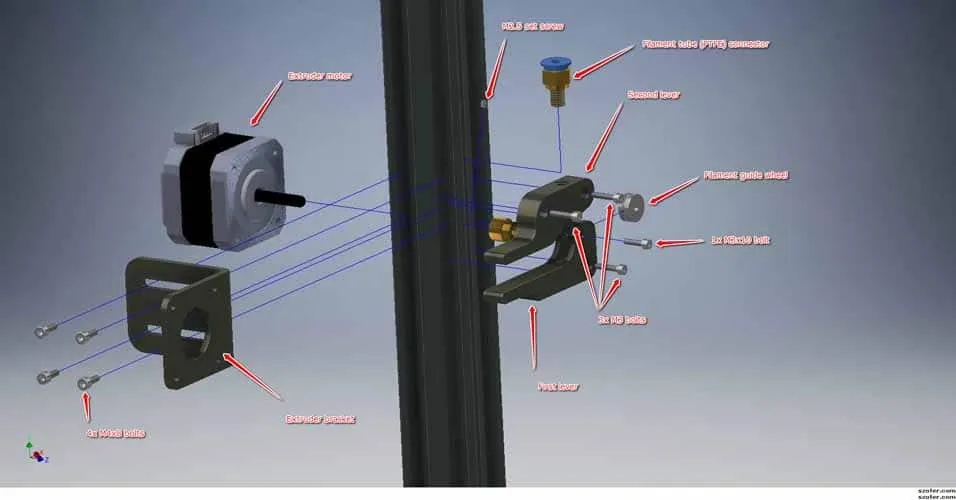
Outdated or corrupted firmware can sometimes cause the E1 heating failed error. Firmware controls how the printer operates, and any errors in this software can prevent the hotend from heating correctly. Also, incorrect settings in the slicer software or on the printer’s control panel can cause this issue. Therefore it’s a good idea to update your firmware or check your software configuration.
Checking and Updating Firmware
Check your printer’s firmware version and compare it with the latest version available. You can usually find this information on the manufacturer’s website or in the printer’s documentation. If there’s a newer version, update your firmware following the manufacturer’s instructions. This typically involves connecting your printer to a computer and using specific software or uploading a firmware file to your printer’s SD card. Ensure you follow the instructions carefully to avoid damaging your printer. Updating the firmware can fix bugs and improve performance.
Software Configuration for Heating
Check your slicer settings, such as the hotend temperature and bed temperature, ensuring they are set correctly for the filament you are using. Incorrect temperatures can cause the E1 error. Verify that the printer’s control panel settings match your slicer settings. Sometimes, the printer’s PID tuning needs to be calibrated. This involves adjusting the proportional, integral, and derivative values in the firmware to optimize the heating response. PID tuning can help resolve temperature fluctuations and improve the printer’s performance. Consult online resources or tutorials for guidance on PID tuning specific to your printer.
Preventative Maintenance Tips
Preventative maintenance can help to avoid the E1 heating failed error in the future and extend the life of your 3D printer. Regular upkeep can significantly reduce the chances of encountering this issue. Following these tips will help keep your printer in top condition.
Regular Inspection and Cleaning
Regularly inspect the wiring, connections, and components of your 3D printer for any signs of damage or wear. Clean the hotend and other parts of the printer. Remove any filament debris or dust that can accumulate. This will prevent potential issues. Pay close attention to the thermistor, heating cartridge, and power supply. Make sure the printer is clean from dust and other contaminants. This can affect performance. Always ensure the printer is powered off and unplugged before performing any maintenance or cleaning tasks.
Proper Bed Leveling
Ensure that the printer bed is properly leveled before each print. Incorrect bed leveling can lead to the hotend crashing into the bed, which can damage the thermistor, heating cartridge, or wiring. Leveling the bed properly ensures consistent adhesion of the first layer of the print. Use the printer’s auto-leveling feature, if available, or manually level the bed using the adjustment knobs. Proper bed leveling will help protect your components and help with print quality. A properly leveled bed is essential for successful 3D printing.
Monitoring Temperatures During Printing
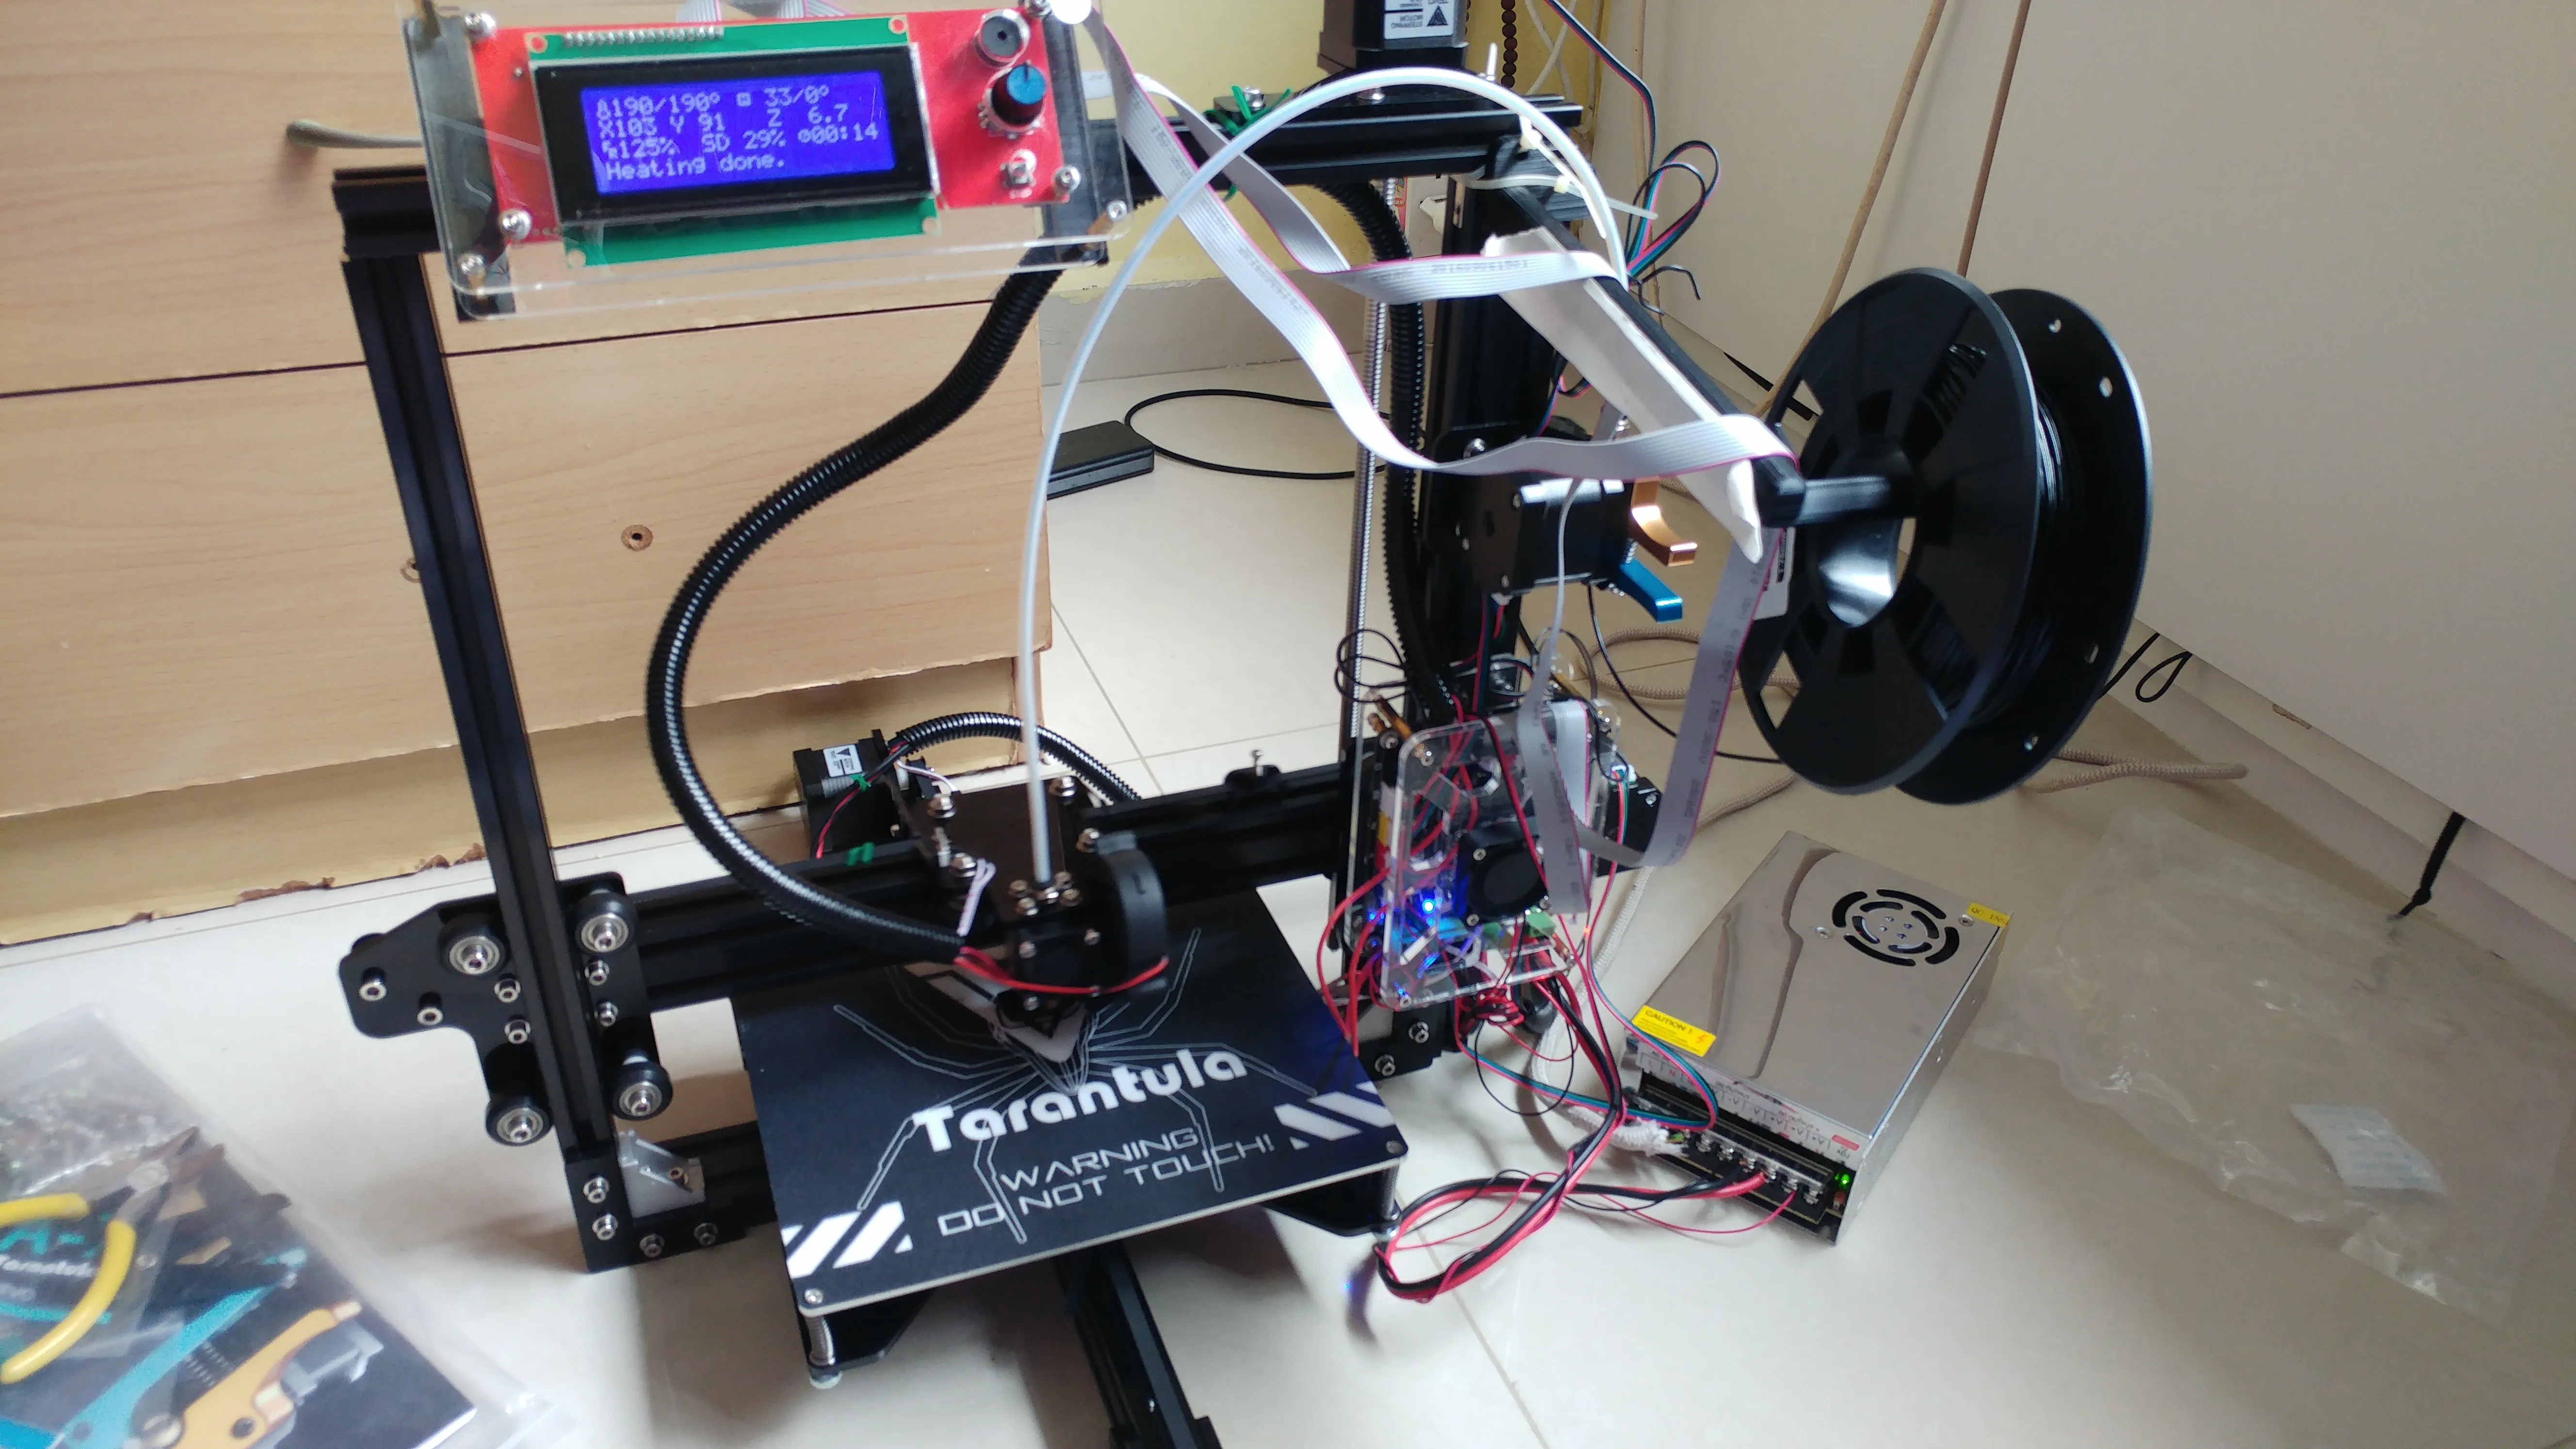
Monitor the hotend temperature during printing. Keep an eye on the temperature readings displayed on the printer’s control panel. This will help you catch any temperature fluctuations or anomalies early. If you notice any unusual behavior, such as the temperature dropping or not reaching the set point, stop the print and investigate the cause. Monitoring the temperature will help you spot issues before they escalate. Keeping an eye on the temperature will help identify problems early.
Conclusion
The Tevo Tarantula E1 heating failed error can be a frustrating setback for 3D printing enthusiasts. However, by systematically troubleshooting the common causes discussed in this guide, you can diagnose and resolve the issue effectively. From inspecting the thermistor and heating cartridge to addressing wiring problems and updating firmware, each step provides a pathway to restoring your printer’s functionality. Regular maintenance and preventative measures will help ensure the longevity of your 3D printer. By following the steps in this guide, you can get back to printing and enjoying your 3D printing projects with confidence.
