Tevo Tarantula Install Overview
Embarking on a Tevo Tarantula install is an exciting journey into the world of 3D printing. This comprehensive guide will walk you through every step, ensuring a smooth and successful setup. Whether you’re a seasoned maker or a complete beginner, this guide aims to simplify the process, providing clear instructions and helpful tips to get your Tevo Tarantula up and running. We’ll cover everything from unboxing to your first print, troubleshooting common issues, and even offer maintenance advice to keep your printer in top condition. Get ready to unlock the creative potential of your Tevo Tarantula!
What You’ll Need
Before diving into the Tevo Tarantula install, it’s crucial to gather all the necessary tools and materials. This preparation will streamline the assembly process and prevent any unexpected delays. Having everything readily available ensures a more enjoyable and efficient experience. The following sections detail the specific tools and materials required for each stage of the install, so you can confidently tackle each step.
Tools Required
The Tevo Tarantula install requires a few basic tools. You’ll likely have most of these on hand, but it’s good to double-check. A set of Allen wrenches (hex keys) is essential, as the printer’s frame and components are held together with screws. A Phillips head screwdriver is also necessary for various tasks. A pair of wire cutters and strippers will be needed for wiring. A multimeter can be helpful for testing connections and ensuring proper voltage, especially during wiring. Finally, a set of small pliers can be useful for manipulating wires and tightening small components.
Materials Needed
Besides the tools, you’ll need a few materials. Ensure you have all the components that came with the Tevo Tarantula kit. This includes the frame parts, motors, electronics, and other hardware. You may also need zip ties to organize the wiring. It’s also a good idea to have some extra filament on hand for your initial test prints. Make sure to use the correct voltage for your region, usually 110V or 220V, and use the correct power cable provided. Check and make sure all of the parts are provided by the vendor.
Prepare the Tevo Tarantula
Preparing the Tevo Tarantula involves a few key steps to ensure a smooth assembly process. This initial stage focuses on unboxing the printer, inspecting the components, and laying the groundwork for the build. Taking the time to properly prepare the components will save you headaches later on and help you understand the printer’s layout. Inspecting the components during unboxing is critical to make sure all items are present and accounted for.
Unboxing and Inspection
Carefully unpack all the components from the Tevo Tarantula box. Refer to the parts list to make sure everything is present. Inspect each component for any damage that might have occurred during shipping. This is the time to report any missing or damaged parts to the seller. Organize the components neatly, separating them into groups (frame, electronics, motors, etc.). This will make it easier to find what you need during assembly. Taking pictures of each step during the unpacking can be helpful in case you need to refer back to them later during the build.
Assemble the Frame
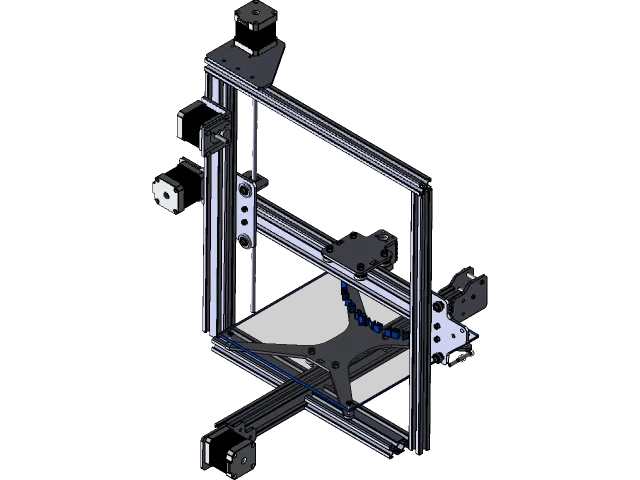
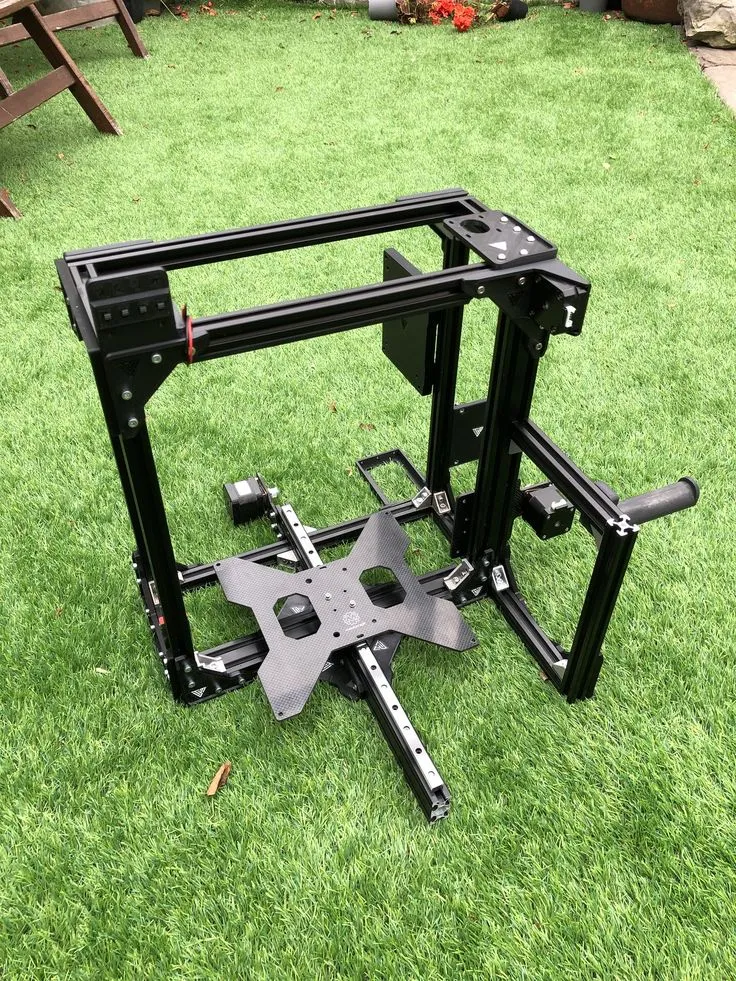
The frame provides the structural support for your 3D printer. Assemble the frame by connecting the various aluminum extrusions according to the manual. Use the provided screws and Allen wrench to secure the frame components. Make sure all the corners are square and aligned correctly. Tighten the screws firmly, but avoid over-tightening, which can strip the threads. Check that the frame is stable and sits flat on a level surface. If your frame is not level or is uneven, this will have a direct impact on print quality.
Install the Z-Axis
The Z-axis controls the vertical movement of the print head. Install the Z-axis components, including the threaded rods, stepper motor, and brackets, according to the instructions. Ensure the Z-axis rods are aligned correctly and move smoothly without binding. Tighten all screws securely. This step is crucial for the printer’s ability to accurately control the height of each layer. If the Z-axis isn’t installed properly, the print quality will suffer and you may have to restart the project.
Mount the Heated Bed
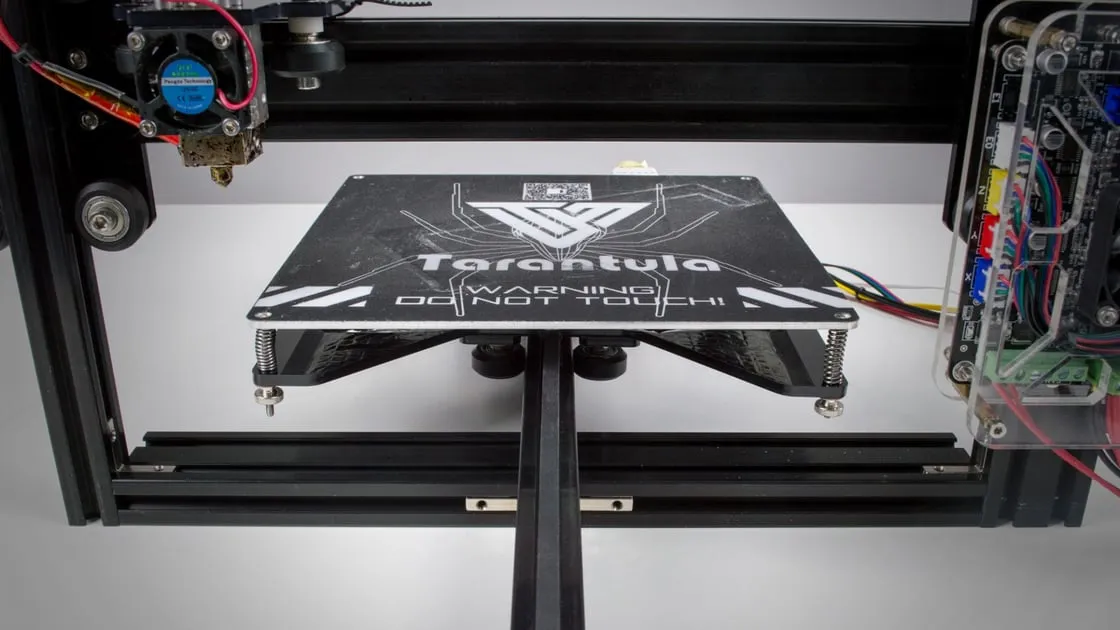
Mount the heated bed onto the frame. This often involves attaching it to the Z-axis carriage using screws and brackets. Ensure the bed is level and moves smoothly along the Z-axis. Properly mounting the heated bed is essential for the first layer adhesion and overall print quality. The heated bed provides a stable, flat surface for your prints to adhere to. Ensure the bed is secure and that the wiring is properly routed and protected from snagging or damage during bed movement.
Wiring the Tevo Tarantula
Wiring the Tevo Tarantula can seem intimidating, but it’s a straightforward process if you follow the instructions carefully. Correct wiring is crucial for the printer’s functionality and safety. Double-check all connections to ensure they are secure and properly connected. It’s essential to understand the basics of electrical connections and follow the wiring diagrams provided in the manual. Take your time, and don’t hesitate to consult the manual or online resources if you’re unsure about any step. Remember to always disconnect the power supply before working on any wiring.
Connecting the Stepper Motors
Connect the stepper motors to the appropriate drivers on the control board. The stepper motors control the movement of the X, Y, and Z axes, as well as the extruder. Refer to the wiring diagram to ensure each motor is connected to the correct driver. Double-check the polarity of the connections to prevent the motors from running in the wrong direction. Secure the wires with zip ties or cable clips to keep them organized and prevent them from interfering with the printer’s movement.
Wiring the Hotend and Heated Bed
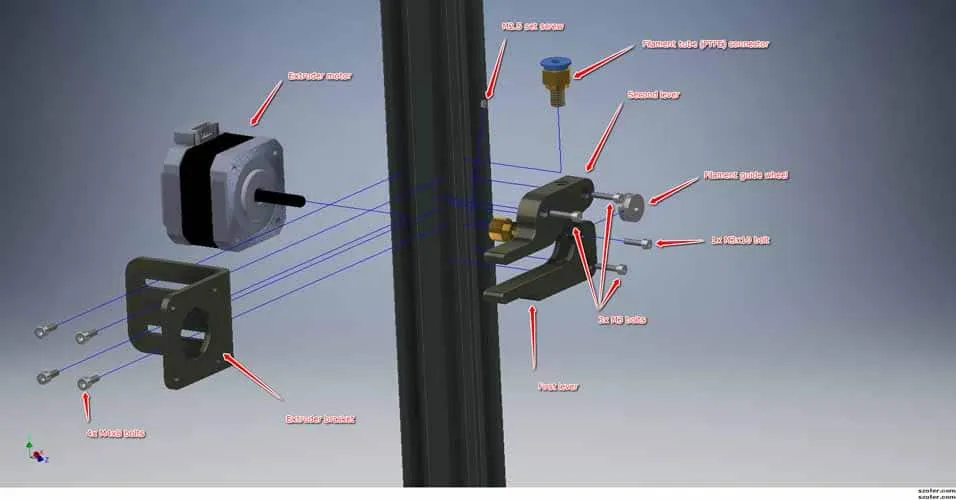
Connect the hotend and heated bed to the control board. The hotend heats the filament and the heated bed provides a stable surface for the prints. Make sure you connect the thermistors (temperature sensors) for the hotend and heated bed to the correct terminals. Connect the heating elements to their respective terminals, paying attention to the voltage requirements. Use appropriate connectors and ensure all connections are secure and insulated to prevent short circuits. Double-check the wiring before powering on the printer.
Connecting the Power Supply
Connect the power supply to the control board and the mains power. Ensure the power supply is set to the correct voltage (usually 110V or 220V) for your region. Connect the power supply’s output to the control board. Double-check all connections before plugging the power supply into a wall outlet. Use a properly rated power cable and always handle electricity with care. Consider adding an inline fuse for added safety. Make sure that the power supply has sufficient capacity to handle all connected components.
Firmware Setup and Calibration
After the hardware is assembled and wired, you’ll need to set up the firmware and calibrate the printer. The firmware controls the printer’s operations, and calibration ensures that the printer functions accurately. This includes flashing the firmware, setting the bed level, and fine-tuning the printer’s settings. These steps are crucial for achieving high-quality prints. The firmware needs to be configured correctly to match the printer’s components and the settings have to be in place to produce quality prints.
Flashing the Firmware
The Tevo Tarantula typically uses Marlin firmware. Download the appropriate Marlin firmware for your printer model and control board. Connect your printer to your computer using a USB cable. Use an Arduino IDE or similar software to upload the firmware to the control board. Configure the firmware settings to match your printer’s specifications, such as the bed size, motor steps, and thermistor type. After the firmware is flashed, you can test your printer. Verify that the printer responds correctly to commands and that all the components are operating as expected.
Bed Leveling
Bed leveling is critical for the first layer adhesion and the overall print quality. Manually level the bed by adjusting the leveling screws at each corner until the nozzle is the correct distance from the bed. Use a piece of paper to test the distance, ensuring there is slight friction as you move the paper. Many 3D printers support auto-bed leveling, which uses a sensor to automatically measure the bed’s surface and adjust the Z-axis accordingly. If your printer has auto-bed leveling, follow the instructions to calibrate the sensor and ensure accurate leveling. Properly leveled bed will reduce many issues that can arise during the printing process.
First Print and Troubleshooting
Once the printer is assembled, wired, and calibrated, you’re ready to print. Select a test print file, such as a calibration cube or a simple model. Prepare the print file in slicing software, such as Cura or PrusaSlicer. Slice the model, generating the G-code instructions for the printer. Transfer the G-code file to your printer using an SD card or a USB connection. Monitor the first layer closely, as this is where most print issues occur. Adjust the bed level and other settings as needed to ensure good adhesion. If the first layer prints successfully, your printer is ready to produce amazing prints. Start with simple prints before you move on to more complex models.
Loading Filament and Initial Print
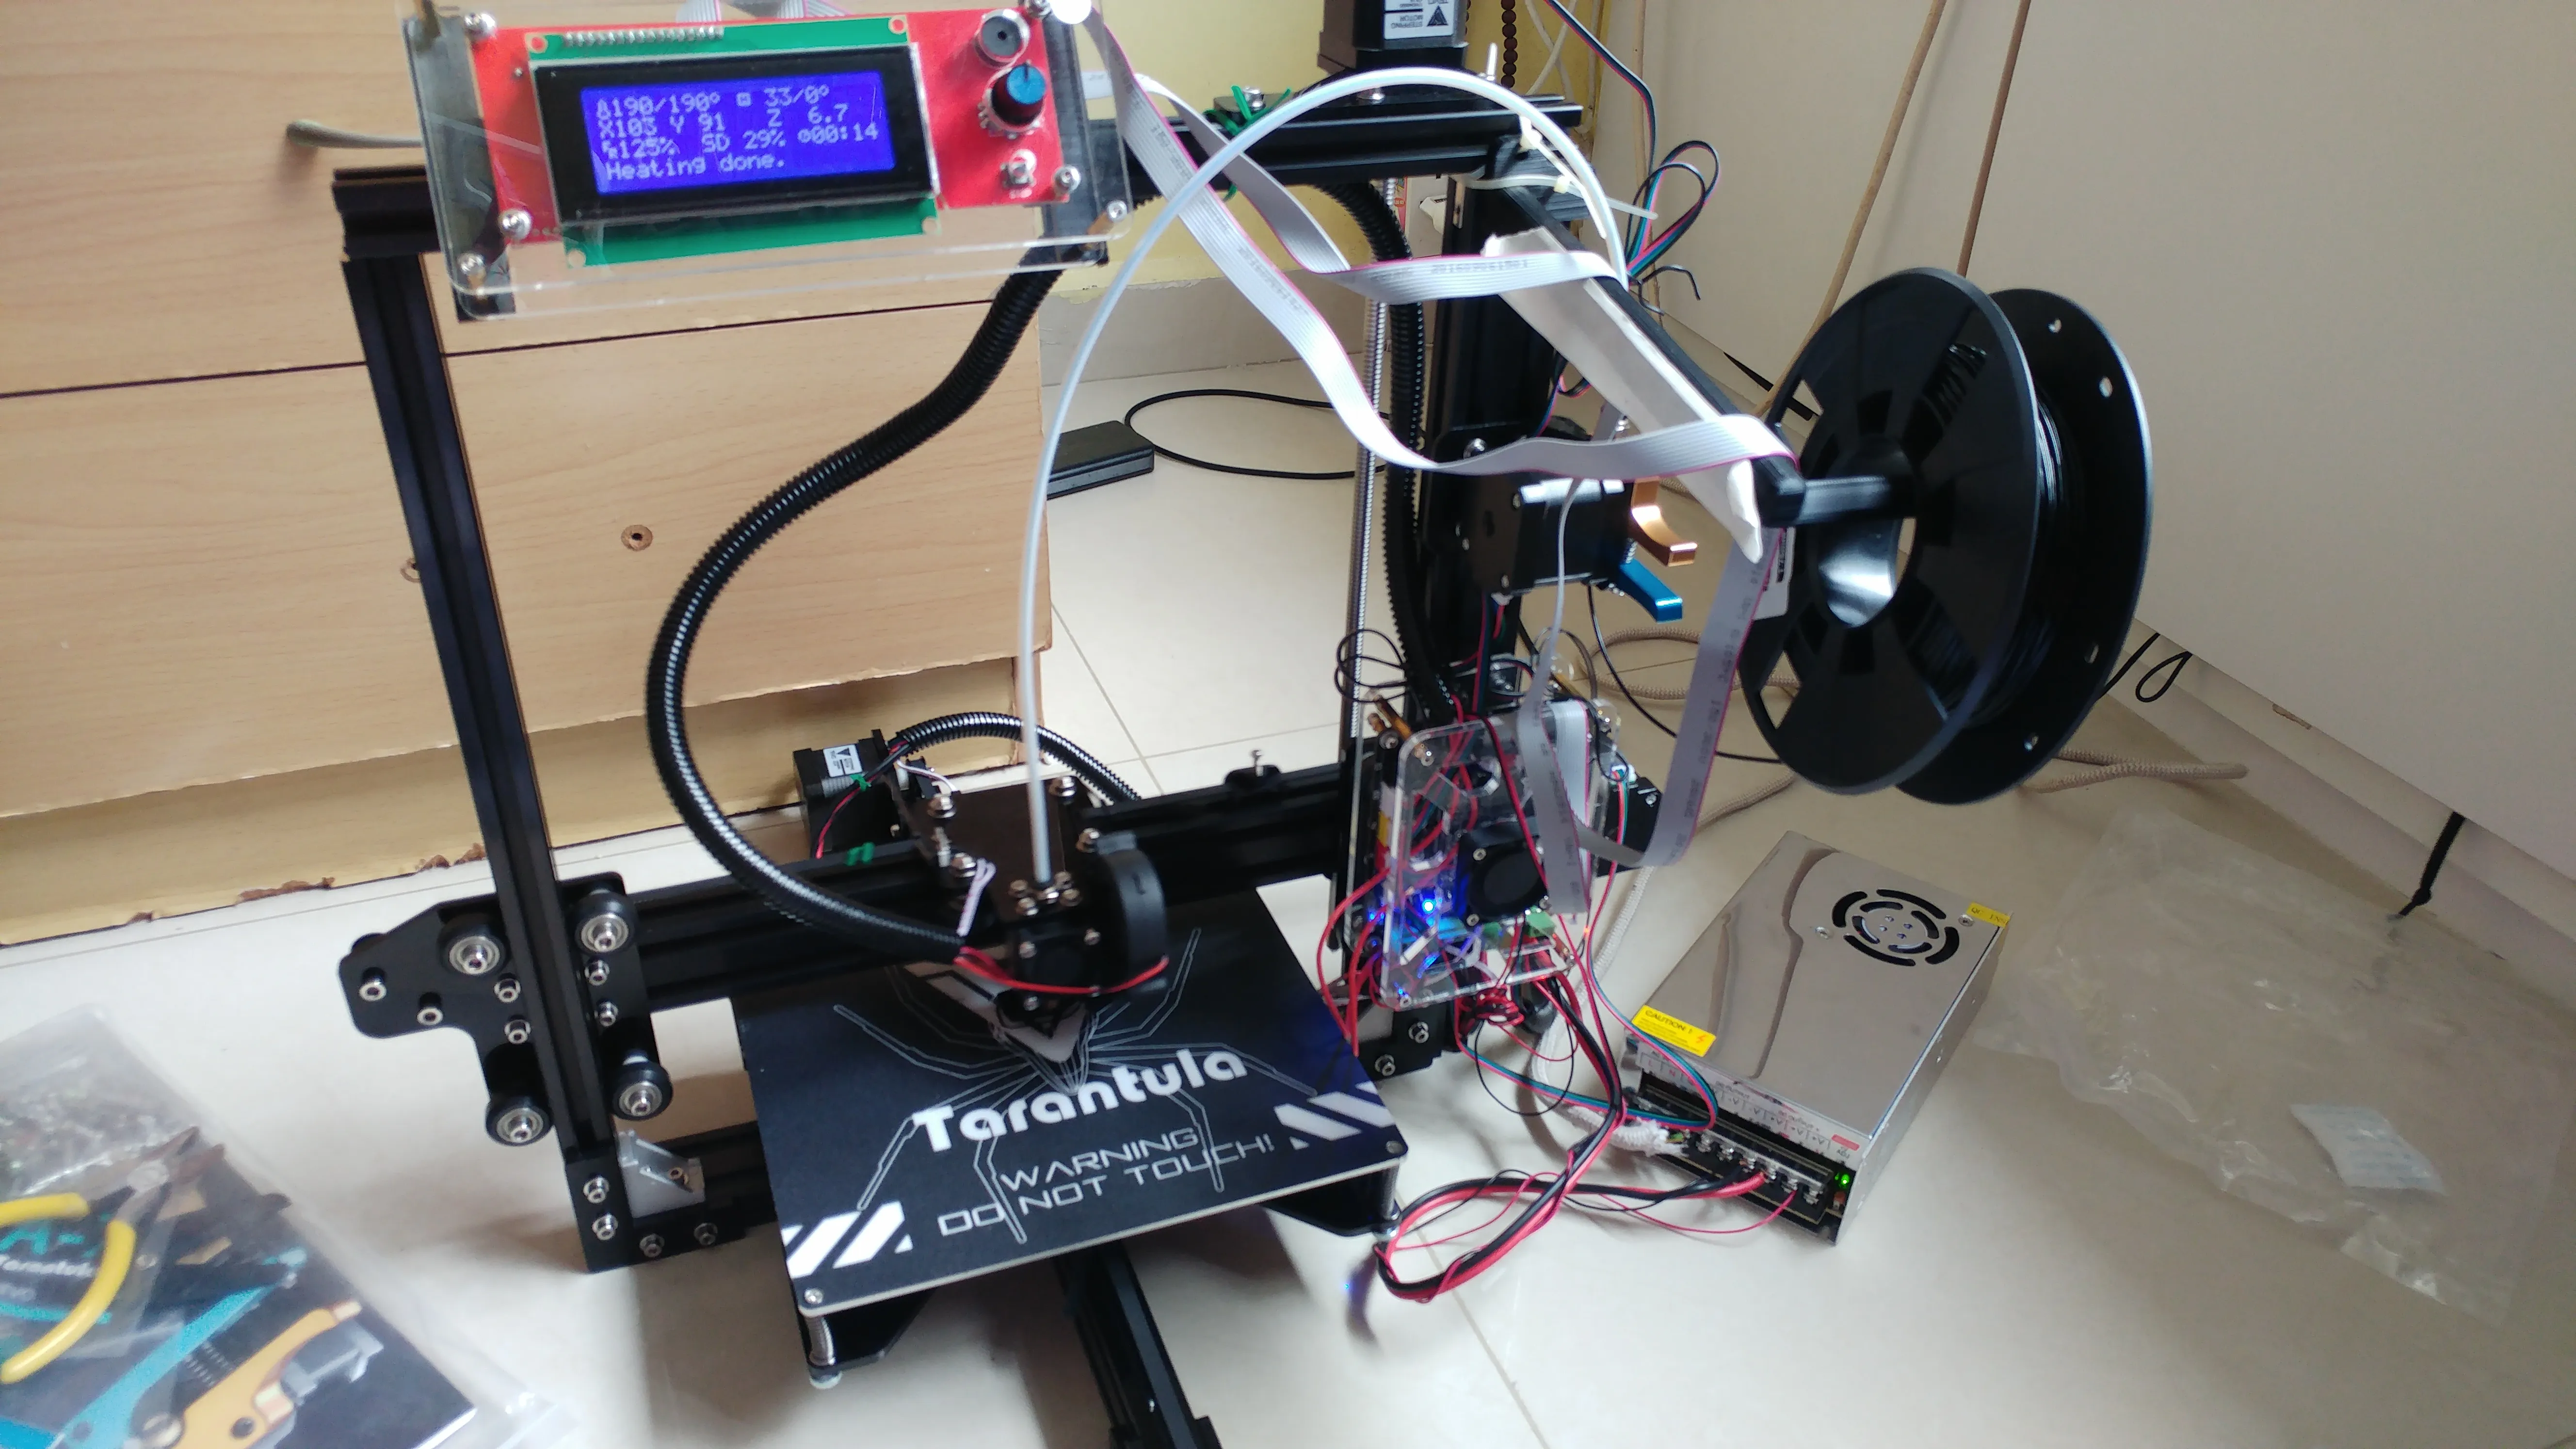
Load the filament into the extruder. Heat the hotend to the recommended temperature for your filament type. Extrude some filament to make sure the nozzle is clear. Select a test print from your SD card or send it via USB. Start the print and monitor the first layer adhesion. Adjust the bed level or Z-offset if needed. Watch the print progress and observe the quality of the printed layers. If everything works well, then your printer is set to go. There are many types of filaments, and each one requires its specific settings.
Common Issues and Solutions
During your first prints, you may encounter a few common issues. Here are some of the most common and how to fix them. If the first layer doesn’t stick, then level the bed or adjust the Z-offset. If the nozzle is too close to the bed, the filament will not extrude. If the layers are not adhering, then check the bed temperature and the print speed. If you experience stringing (thin strands of filament), then adjust the retraction settings. If the print is warping, then use a brim or raft. Troubleshooting is a crucial part of 3D printing, and patience is key. You’ll learn how to recognize the issues and find solutions by gaining experience.
Maintenance and Upgrades
Regular maintenance and upgrades will keep your Tevo Tarantula performing at its best. Cleaning the printer, lubricating moving parts, and checking connections will help to prolong the life of your 3D printer. Performing upgrades can improve your printer’s performance and print quality. A well-maintained printer will produce better prints, while upgrades can improve the user experience and print capabilities. This ensures consistent print quality and reduces the chances of unexpected issues. The longevity of a printer is determined by the level of care it receives.
Congratulations! You’ve completed the Tevo Tarantula install guide. By following these steps, you should now have a working 3D printer ready to bring your ideas to life. Remember to always consult the manual, use caution with electricity, and enjoy the exciting world of 3D printing. Happy printing!
