Understanding Tevo Tarantula Lead Screws
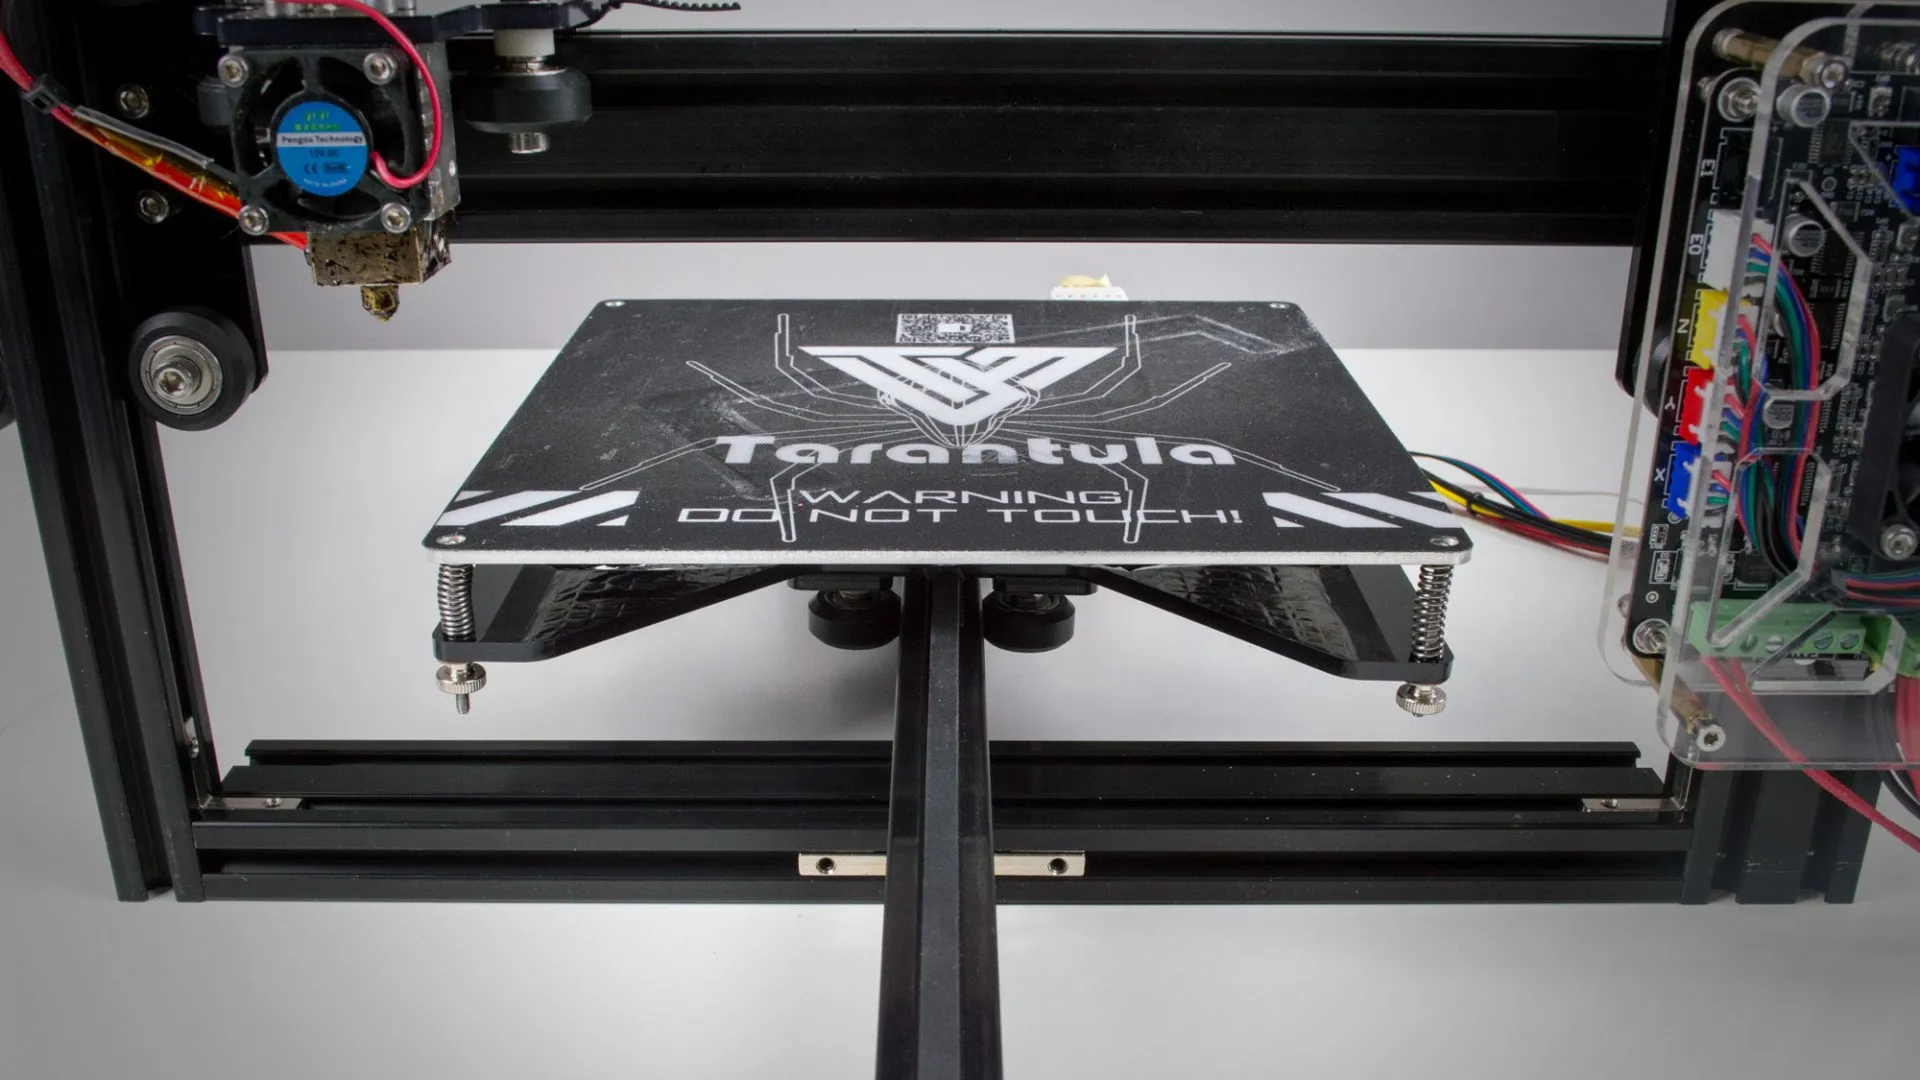
The Tevo Tarantula is a popular and affordable 3D printer known for its ease of use and modifiability. A crucial component influencing print quality is the lead screw. Understanding these screws is the first step in optimizing your printer’s performance. Lead screws are essential for the Z-axis movement, controlling the vertical positioning of the print bed or the print head, depending on your printer’s configuration. This precision is vital for accurate layer alignment and overall print quality. Upgrading or maintaining your lead screws can dramatically enhance the capabilities of your Tevo Tarantula.
What are Lead Screws
Lead screws, also known as Z-axis screws in the context of 3D printing, are threaded rods that convert rotational motion into linear motion. The stepper motor rotates the lead screw, which then moves the print bed (or the print head) up and down, allowing the printer to build objects layer by layer. The accuracy and smoothness of this vertical movement are directly related to the quality and condition of the lead screw. The precision of the lead screw is critical because it impacts the layer adhesion and the dimensional accuracy of your prints. Without well-functioning lead screws, you may experience issues like layer shifting or inconsistent layer heights.
Lead Screw Materials and Types
Lead screws are typically made from various materials, the most common being stainless steel or hardened steel. The choice of material affects durability, precision, and cost. Stainless steel lead screws are resistant to corrosion and wear, making them a good option for longevity. The lead screw type also matters. Common options include ACME lead screws, known for their robustness and ability to handle significant loads, and ball screws, which offer higher precision and efficiency but come at a greater cost. For the Tevo Tarantula, ACME lead screws are generally used, and upgrading to a higher-quality ACME screw is a cost-effective way to improve performance. Consider the material and type to match your printing needs and budget.
Why Upgrade Tevo Tarantula Lead Screws
Upgrading the lead screws on your Tevo Tarantula can provide several key benefits, including improved print quality, reduced mechanical issues, and sometimes, even faster print speeds. The original lead screws supplied with the printer are often adequate for basic printing, but for those seeking more precise and reliable results, an upgrade can make a significant difference. Investing in higher-quality lead screws can address some common problems that impact printing.
Improved Print Quality
One of the most noticeable benefits of upgrading your lead screws is enhanced print quality. Higher-quality lead screws typically provide smoother and more consistent vertical movement. This is especially critical for detailed prints or those that require excellent layer adhesion. With a better lead screw, you’ll see fewer imperfections in your prints, such as layer lines, or inconsistencies in surface finish. A better lead screw ensures that each layer is deposited accurately, resulting in a more precise and aesthetically pleasing final product. Enhanced print quality will make it worth your while.
Reduced Z-Axis Wobble

Z-axis wobble, also known as banding, is a common issue where vertical lines appear on the sides of the print. This is often caused by imperfections in the lead screw or a lack of stability in the Z-axis system. Upgrading to a more precise lead screw can significantly reduce or eliminate this wobble, leading to smoother surfaces and cleaner prints. The upgrade can also help minimize vibrations and reduce the likelihood of print defects. The improved stability gained from a lead screw upgrade will enhance the overall appearance and structural integrity of your prints.
Faster Printing Speeds
While lead screws primarily impact vertical movement accuracy, a higher-quality lead screw can indirectly contribute to faster printing speeds. The ability to print at faster speeds relies on the stability and precision of the printer’s moving parts. If the Z-axis is more stable and accurate, you may be able to increase print speeds without sacrificing print quality. However, it is important to calibrate your printer and consider other factors that affect print speed, such as the hot end temperature, filament type, and bed adhesion.
Increased Durability
Upgrading to more durable lead screws can extend the lifespan of your printer. Better-quality screws often resist wear and tear better than their lower-cost counterparts. This means fewer replacements and less downtime for your printer. The enhanced durability also contributes to maintaining consistent performance over time. Durable lead screws are a worthwhile investment for anyone who uses their 3D printer frequently and needs consistent printing results.
Choosing the Right Lead Screw for Your Tevo Tarantula

Selecting the appropriate lead screw is essential for a successful upgrade. Consider factors like lead screw pitch, diameter, material, and length to ensure compatibility with your printer and printing needs. Doing your homework beforehand will result in a successful upgrade. Taking the time to choose the right lead screw can improve the printer’s performance and longevity.
Lead Screw Pitch and Diameter
Lead screw pitch refers to the distance the Z-axis moves vertically for each complete rotation of the lead screw. A smaller pitch provides higher resolution and is beneficial for detailed prints. The diameter of the lead screw also plays a role in its stability and load-bearing capacity. Thicker lead screws are typically more robust and can handle greater loads without bending. When choosing, refer to the specifications for your Tevo Tarantula. Using the correct pitch and diameter is important for the printer to function correctly. You need to make sure your lead screw is compatible.
Lead Screw Material
Consider lead screw material such as stainless steel or hardened steel. Stainless steel is resistant to corrosion and wears well, while hardened steel is known for its strength and durability. The choice depends on your budget and the level of precision and longevity you seek. Consider where your printer is located. If you live in a humid location, stainless steel lead screws may be better, due to their resistance to corrosion. A great lead screw will provide excellent performance for many years.
Lead Screw Length

The lead screw length must be compatible with your Tevo Tarantula’s build volume. Measure the original lead screw length carefully and ensure the replacement is the same or slightly longer. If the lead screw is too short, the print bed will not be able to reach its full height. If it’s too long, it may interfere with other components of the printer. Accuracy in measuring the lead screw is important. It is usually best to purchase a lead screw the same length as the original.
Tools You’ll Need
Before starting the upgrade, gather the necessary tools. This typically includes Allen wrenches or hex keys, a screwdriver, and possibly a wrench for removing and installing the lead screw. You may also need a caliper to measure the lead screw precisely and a level to ensure the print bed is correctly aligned after the upgrade. Having the right tools can simplify the process. Make sure you have everything you need before you start.
Tevo Tarantula Lead Screw Upgrade: Step-by-Step Guide
Performing a lead screw upgrade on your Tevo Tarantula may seem daunting, but the process is fairly straightforward. Following these steps carefully will help you install new lead screws. Always disconnect your printer from the power supply before working on any of its components. This ensures safety and protects the printer from electrical damage.
Preparing Your 3D Printer

Turn off and unplug your Tevo Tarantula. Remove the print bed and any other components that could interfere with the lead screw replacement. Loosen any wiring that restricts access to the Z-axis assembly. Ensure you have enough space around your printer and a clear workspace. This preparation makes the upgrade easier. Make sure you remove any fragile components before you start.
Removing the Old Lead Screw
Carefully loosen any set screws or clamps that secure the old lead screw to the Z-axis motor coupling. Use the appropriate Allen wrench or hex key. Gently slide the old lead screw out of the assembly. Note the orientation of the lead screw and any washers or spacers. This will help you during the installation of the new lead screw. Take photos of the setup to help you put it back together later. Ensure the old lead screw is fully detached before continuing.
Installing the New Lead Screw
Insert the new lead screw into the Z-axis assembly, aligning it with the motor coupling. Ensure the lead screw sits straight and doesn’t bind as it passes through the Z-axis components. Tighten the set screws or clamps, but not excessively. Check for smooth movement by rotating the lead screw manually. If the lead screw binds, loosen the set screws and adjust the alignment. If the lead screw rotates easily, you have installed it correctly.
Adjusting and Calibrating

After installing the new lead screw, reassemble the print bed and other components. Level the print bed carefully using the bed leveling screws. Calibrate the Z-offset to ensure the nozzle is at the correct height above the print bed. Perform a test print of a small calibration object to verify that the Z-axis movement is smooth and accurate. Make any necessary adjustments to the Z-offset during the first few prints. Ensure everything is working properly.
Tips for Successful Lead Screw Upgrades
Upgrading your lead screws requires attention to detail. These tips will help you avoid common mistakes and ensure your upgrade is successful. By following these tips, you can optimize your 3D printer.
Tightening the Lead Screw
When tightening set screws or clamps, do not overtighten. Overtightening can damage the lead screw, motor coupling, or other components. Tighten the screws firmly, but avoid excessive force. Ensure the lead screw is securely held in place but is not under undue stress. Proper tightening is essential to the smooth operation of the Z-axis.
Lubrication
Lubricate the lead screw with a suitable lubricant, such as lithium grease or a specialized 3D printer lubricant. Lubrication reduces friction and wear and tear, extending the life of the lead screw. Apply a thin, even layer of lubricant along the entire length of the lead screw. Avoid using too much lubricant, as this can attract dust and debris. Applying a little lubricant every so often will help protect your lead screw.
Regular Maintenance
Regular maintenance is crucial to keep your 3D printer running smoothly. Regularly inspect the lead screws for any signs of wear, damage, or debris. Clean the lead screws and re-lubricate them periodically. Check and tighten any loose screws or clamps. By performing these tasks, you can prevent issues.
Troubleshooting Common Problems
Even with a successful lead screw upgrade, some problems may arise. Here are some troubleshooting tips for common issues.
Z-Axis Binding
If the Z-axis binds, the lead screw might not be perfectly aligned or there could be too much friction. Loosen the set screws on the motor coupling and realign the lead screw. Make sure the lead screw is not bent and that the Z-axis rods are parallel. Check for obstructions, and ensure proper lubrication. If the problem persists, consider replacing the motor coupling or lead screw.
Layer Shifting
Layer shifting occurs when the layers of your print do not align correctly. This can be caused by a loose lead screw, a problem with the motor, or incorrect motor current. Ensure the lead screw is securely fastened. Check the motor’s connections. If layer shifting continues, check the motor current and calibrate your printer. Ensure all the belts are tight.
Print Quality Issues
Poor print quality, such as inconsistent layer heights or visible layer lines, can be caused by the lead screw or other mechanical problems. Ensure the lead screw is clean and lubricated. Check the printer’s bed leveling and Z-offset calibration. Examine the Z-axis rods for any bending or misalignment. Slow down the print speed and reduce vibrations. Adjust other settings as necessary.
Conclusion
Upgrading the lead screws on your Tevo Tarantula is a worthwhile investment for improving print quality, reducing mechanical issues, and extending your printer’s lifespan. By understanding the benefits of the upgrade, choosing the right lead screws, and following the step-by-step guide, you can significantly enhance your 3D printing experience. Regular maintenance and troubleshooting will keep your printer running smoothly. The enhancement in the Tevo Tarantula will be well worth the effort.