What is a Tevo Tarantula Nozzle Block?
The Tevo Tarantula is a popular 3D printer, and understanding its components is key to successful 3D printing. The nozzle block is a critical part of the hotend assembly, which is responsible for melting and extruding the filament onto the print bed. For beginners, this component might seem a bit daunting, but with a little guidance, understanding and maintaining the nozzle block becomes a straightforward process. This guide will help you understand everything from the basic components to troubleshooting and maintenance, ensuring you get the best prints possible from your Tevo Tarantula.
Components of a Tevo Tarantula Nozzle Block
The nozzle block, though appearing as a single unit, is actually composed of several important parts working together. Recognizing these components and understanding their functions is crucial for effective maintenance and troubleshooting. This knowledge allows you to quickly diagnose and resolve any issues that may arise during the printing process. Each component plays a vital role in the efficient melting and extrusion of filament, so a problem with any of them can lead to printing failures.
The Nozzle
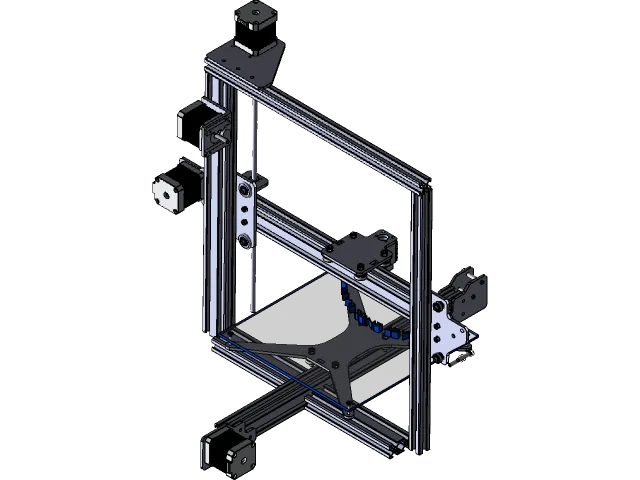
The nozzle is the tip of the hotend through which the molten filament is extruded. It is usually made of brass or stainless steel and comes in different sizes, typically measured by the diameter of the extrusion hole (e.g., 0.4mm, 0.6mm, or 0.8mm). The nozzle’s size affects print resolution and speed. Smaller nozzles provide higher resolution but slower printing, while larger nozzles offer faster printing but lower resolution. It’s important to choose the right nozzle size based on your printing needs and the type of filament you’re using. The condition of the nozzle is vital; any damage or wear can significantly affect print quality. Regularly inspect your nozzle for wear and replace it when necessary.
The Heater Block
The heater block surrounds the nozzle and the lower part of the heat break and is responsible for transferring heat from the heating element to the nozzle. It’s typically made of aluminum and features a cavity to house the heater cartridge and thermistor. The heater block’s design is crucial for maintaining a consistent temperature. Poor heat transfer or inadequate temperature control can lead to printing problems such as under-extrusion or inconsistent layer adhesion. Ensure your heater block is clean and properly secured for optimal performance. Verify the heater block’s temperature sensor is securely in place.
The Thermistor
The thermistor is a temperature sensor that monitors the temperature of the heater block. It provides feedback to the 3D printer’s control board, allowing it to regulate the temperature accurately. The thermistor is usually a small bead-shaped component wired to the control board. Proper functioning of the thermistor is essential for achieving the correct printing temperature for the filament. If the thermistor fails, it can lead to inaccurate temperature readings, causing printing issues such as filament melting too early or not at all. Regular inspection ensures the thermistor is securely in place and properly connected.
Why is the Nozzle Block Important?

The nozzle block is the heart of the hotend, so its importance cannot be overstated. It directly influences the quality, consistency, and reliability of your prints. A well-maintained nozzle block ensures that filament melts smoothly and is extruded precisely, leading to clean and accurate models. Issues with the nozzle block can manifest as poor layer adhesion, clogging, or uneven extrusion, all of which diminish print quality. Understanding the importance of the nozzle block helps you prioritize its maintenance and troubleshooting, which in turn, enhances your 3D printing experience.
Common Issues with Nozzle Blocks
Like any mechanical component, the nozzle block can encounter various issues that affect print quality. These issues, if unaddressed, can halt your printing process. Understanding these common problems and their causes is essential for troubleshooting and preventing print failures. With a little knowledge and the right tools, you can often resolve these issues quickly and effectively, ensuring your 3D printer runs smoothly.
Clogging
Clogging is one of the most frequent issues 3D printer users face. It occurs when filament solidifies within the nozzle, preventing further extrusion. This can happen due to several reasons, including heat creep (filament melting too far up the hotend), incorrect temperature settings, or the presence of debris or impurities in the filament. Symptoms of a clog include under-extrusion, irregular extrusion, or complete failure to extrude. Addressing clogs promptly is essential for preventing print failure and for maintaining print quality. Regular maintenance, such as cleaning the nozzle and ensuring proper temperature settings, can help prevent clogging.
Leaking Filament
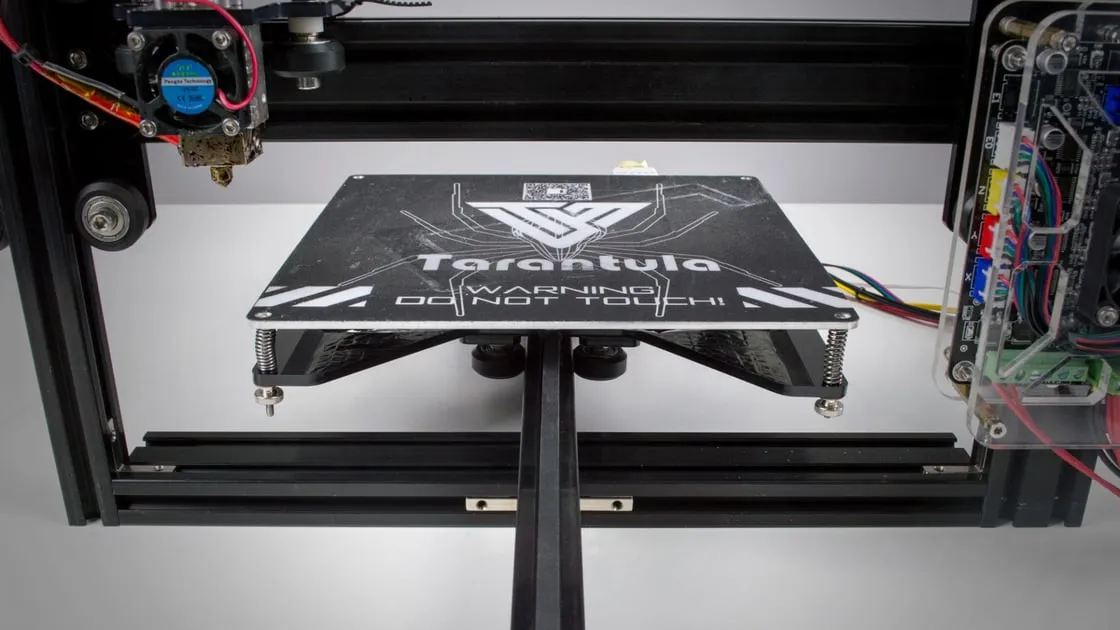
Filament leakage occurs when molten filament escapes from the nozzle block. This can lead to messy prints, material waste, and even damage to the printer. Leaks are commonly caused by loose nozzle connections, improper tightening, or issues with the heater block. High temperatures and pressure inside the nozzle block can exacerbate these issues, making it essential to ensure all components are properly sealed. Regular inspection of the nozzle block for leaks and proper tightening can prevent this issue and maintain print quality.
Temperature Fluctuations
Inconsistent temperatures in the nozzle block can result in poor print quality, including under-extrusion, over-extrusion, and inconsistent layer adhesion. Temperature fluctuations can be caused by a faulty thermistor, inadequate heater power, or drafts around the printer. Ensuring the thermistor is securely connected and the printer is in a stable environment is crucial. Calibrating the temperature settings and regularly checking for temperature variations can help you maintain consistent temperatures and achieve optimal print results. This contributes greatly to the overall print quality and reliability.
Step-by-Step Guide to Replacing a Nozzle Block
Sometimes, despite your best efforts, the nozzle block may need replacing. This can be due to wear, damage, or persistent issues that cannot be resolved through maintenance. Replacing the nozzle block is a straightforward process that can significantly improve your printer’s performance. The process requires care and precision. The following steps will guide you through the process, ensuring a successful replacement and optimal printing performance.
Gathering Your Tools and Materials
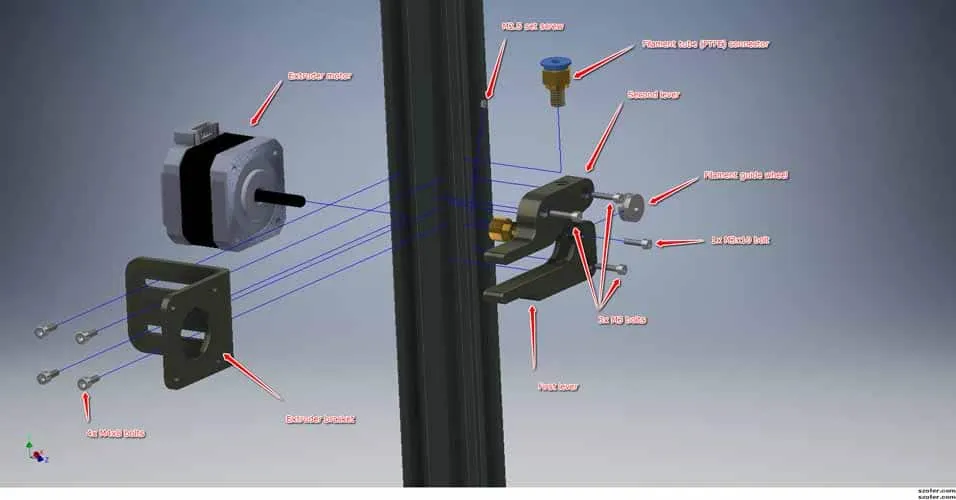
Before you begin, gather the necessary tools and materials. You will need a new nozzle block, a set of wrenches (typically a 7mm or 8mm wrench for the nozzle and a 10mm for the heater block), a heat-resistant glove, and possibly a pair of pliers. Always have a backup nozzle on hand. Ensuring that you have all these things ready will make the replacement process smoother and more efficient, preventing delays and frustrations during the process. Proper preparation is key to the success of any mechanical task.
Heating Up the Hotend
Before removing or replacing the nozzle block, you must heat the hotend to the appropriate temperature. This is important for several reasons, including loosening the filament and allowing you to safely disassemble the components. Use the printer’s control panel or software to heat the hotend to the temperature recommended for the filament you are using. Be extremely careful when handling the hotend as it can cause burns. Always wear the heat-resistant glove to protect your hand.
Removing the Old Nozzle Block
Once the hotend is heated, carefully remove the old nozzle block. Use the wrenches to hold the heater block and nozzle in place while unscrewing the nozzle. Be cautious, as the components will be very hot. Support the heater block with one wrench and unscrew the nozzle with the other. Unscrewing the nozzle while the hotend is hot will make the process easier and help to prevent any damage. Once unscrewed, the nozzle can be removed. Then remove the heater block from the heatbreak.
Installing the New Nozzle Block
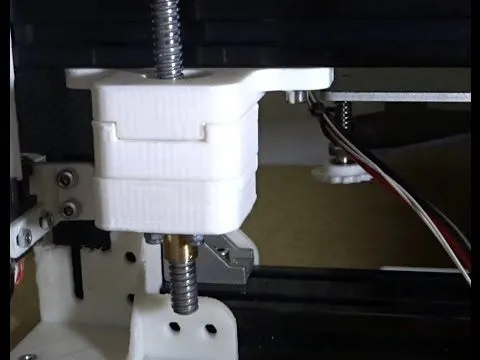
Screw the new nozzle into the heater block. Make sure the nozzle is properly seated and tightened securely, but do not overtighten. Secure the heater block to the heatbreak, and make sure it is firmly attached to the rest of the assembly. This step will ensure that the new nozzle block operates as intended. Proper installation is a critical step for successful printing.
Tightening and Securing
After installing the new nozzle block, make sure everything is tightened and secured properly. Using the appropriate wrenches, tighten the nozzle and heater block to the manufacturer’s specifications. Ensure there are no gaps or loose connections that could lead to leaks or printing problems. Check and double-check all connections to ensure they are secure and that all components are properly aligned. Properly tightening all the parts is essential for the longevity and proper functioning of the 3D printer.
Calibrating the Hotend
After replacing the nozzle block, it is essential to calibrate the hotend. This involves adjusting the printer’s settings to match the new nozzle’s characteristics. Perform a test print to check the first layer adhesion and overall print quality. You may need to adjust the Z-offset and temperature settings to achieve optimal results. Calibrating the hotend ensures that the nozzle block is working with the rest of the printer to achieve the best possible results.
Tips for Maintaining Your Nozzle Block
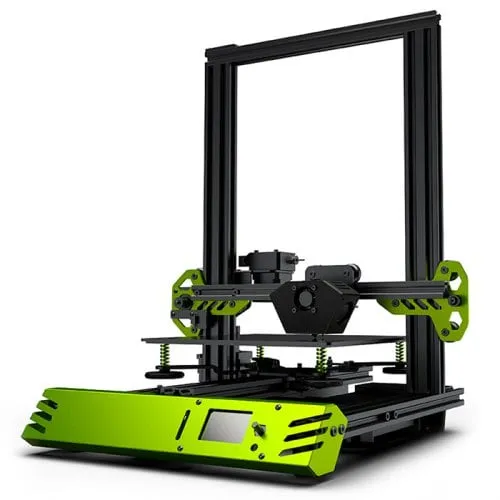
Regular maintenance is key to the longevity and reliable performance of your Tevo Tarantula’s nozzle block. Consistent maintenance helps prevent issues and ensures that your printer continues to produce high-quality prints over time. By implementing a regular maintenance schedule, you can minimize downtime and maximize your 3D printing productivity.
Regular Cleaning
Cleaning the nozzle block regularly is crucial. Start by removing any filament residue from the nozzle and heater block. A brass brush can be used to remove any melted plastic buildup. You can use a needle to clean the nozzle opening if needed, but be careful not to damage it. Clean the nozzle block after every few prints to remove any debris, and before long periods of inactivity. Maintaining a clean nozzle block will help to prevent clogs and ensure consistent filament flow. Regular cleaning will also extend the life of the nozzle block.
Proper Temperature Settings
Using the correct temperature settings is essential for preventing printing issues. Consult the filament manufacturer’s recommendations for the optimal printing temperature. Printing at temperatures that are too low can lead to under-extrusion and poor layer adhesion, while printing at temperatures that are too high can cause stringing and oozing. Experiment with different temperatures to find the best settings for your filament and printer setup. Keeping the temperature in the correct range prevents filament-related problems. Regular calibration and monitoring of the temperature will optimize your prints.
Using Quality Filament
The quality of the filament you use significantly impacts print quality and nozzle block performance. Low-quality filament may contain impurities or inconsistent diameters, which can lead to clogs and other printing problems. Always use high-quality filament from a reputable supplier to ensure consistent extrusion and prevent nozzle block issues. High-quality filament not only provides better print results but also reduces the likelihood of encountering problems such as clogging and uneven extrusion.
Troubleshooting Common Nozzle Block Problems
Even with proper maintenance, you may still encounter nozzle block problems. Knowing how to troubleshoot these issues can save you time and frustration. Here’s a quick guide to help you identify and resolve common problems.
Clogging Solutions
If your nozzle is clogged, try the following: first, heat the hotend to the filament’s printing temperature. Then, use the nozzle cleaning needle to carefully clear the clog. If that doesn’t work, try a cold pull. Heat the hotend to the filament’s melting temperature and then lower the temperature, pulling the filament out as it cools. This helps remove any solidified filament. If clogs persist, consider replacing the nozzle.
Preventing Filament Leaks
If you notice filament leaking from your nozzle block, first, ensure the nozzle is securely tightened. Double-check all connections to make sure they are snug. If the leak continues, it may be necessary to replace the nozzle and the heater block. Heat the hotend to operating temperature before tightening. When replacing components, ensure that the threads are clean and free of debris before installing the new parts. If the leak still happens, there might be an issue with the heat break or another component.
Maintaining Consistent Temperatures
For consistent temperatures, first, check that the thermistor is securely connected and functioning correctly. If temperature readings fluctuate, you might need to replace the thermistor or the heater cartridge. Make sure the printer is placed in a draft-free area. Calibrate your printer’s temperature settings. If problems persist, consider replacing the heater block. Ensuring that the temperature settings are correct will maintain the quality of your prints. Regular monitoring and calibration will solve many issues.
Upgrading Your Nozzle Block for Better Prints
For those looking to enhance their 3D printing experience, upgrading the nozzle block is a worthwhile consideration. Upgrading to a high-performance nozzle block can lead to better print quality, increased print speeds, and improved overall reliability. This could involve using a different nozzle material, such as hardened steel, for abrasive filaments or a nozzle with a special coating for better heat transfer. Explore different options to see what best suits your needs. The right upgrades can help you reach new levels of printing quality.
