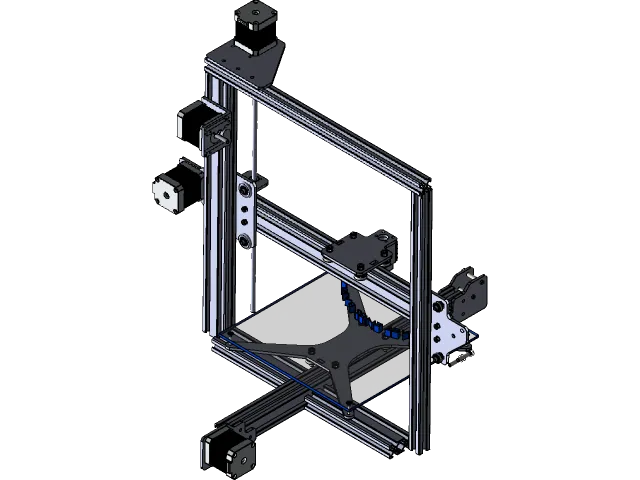
Understanding Tevo Tarantula Repetier Settings
The Tevo Tarantula is a popular and affordable 3D printer, well-regarded within the 3D printing community for its accessibility and ease of modification. To unlock its full potential, understanding the nuances of its settings within a slicing and control software like Repetier-Host is crucial. These settings dictate everything from the quality of your prints to the printer’s longevity. This guide will provide a comprehensive look at optimizing your Tevo Tarantula’s Repetier settings, ensuring you get the best possible results, whether you are printing intricate models or functional parts. Proper configuration leads to cleaner prints, reduced waste, and a better overall 3D printing experience. This article aims to equip you with the knowledge to achieve optimal performance from your Tevo Tarantula.
Why Repetier-Host for Tevo Tarantula
Repetier-Host is a free, open-source 3D printing software that offers a robust set of features, making it an excellent choice for controlling your Tevo Tarantula. It’s not only a slicing software, but also provides a direct interface to the printer, allowing you to monitor prints, adjust settings on the fly, and manage your print queue effectively. The software’s versatility, including support for multiple slicers (Slic3r, CuraEngine, etc.), makes it highly adaptable to your specific needs and printing preferences. Its comprehensive control options, coupled with its community support, solidify its place as a preferred choice for many Tevo Tarantula users.
Advantages of Repetier-Host
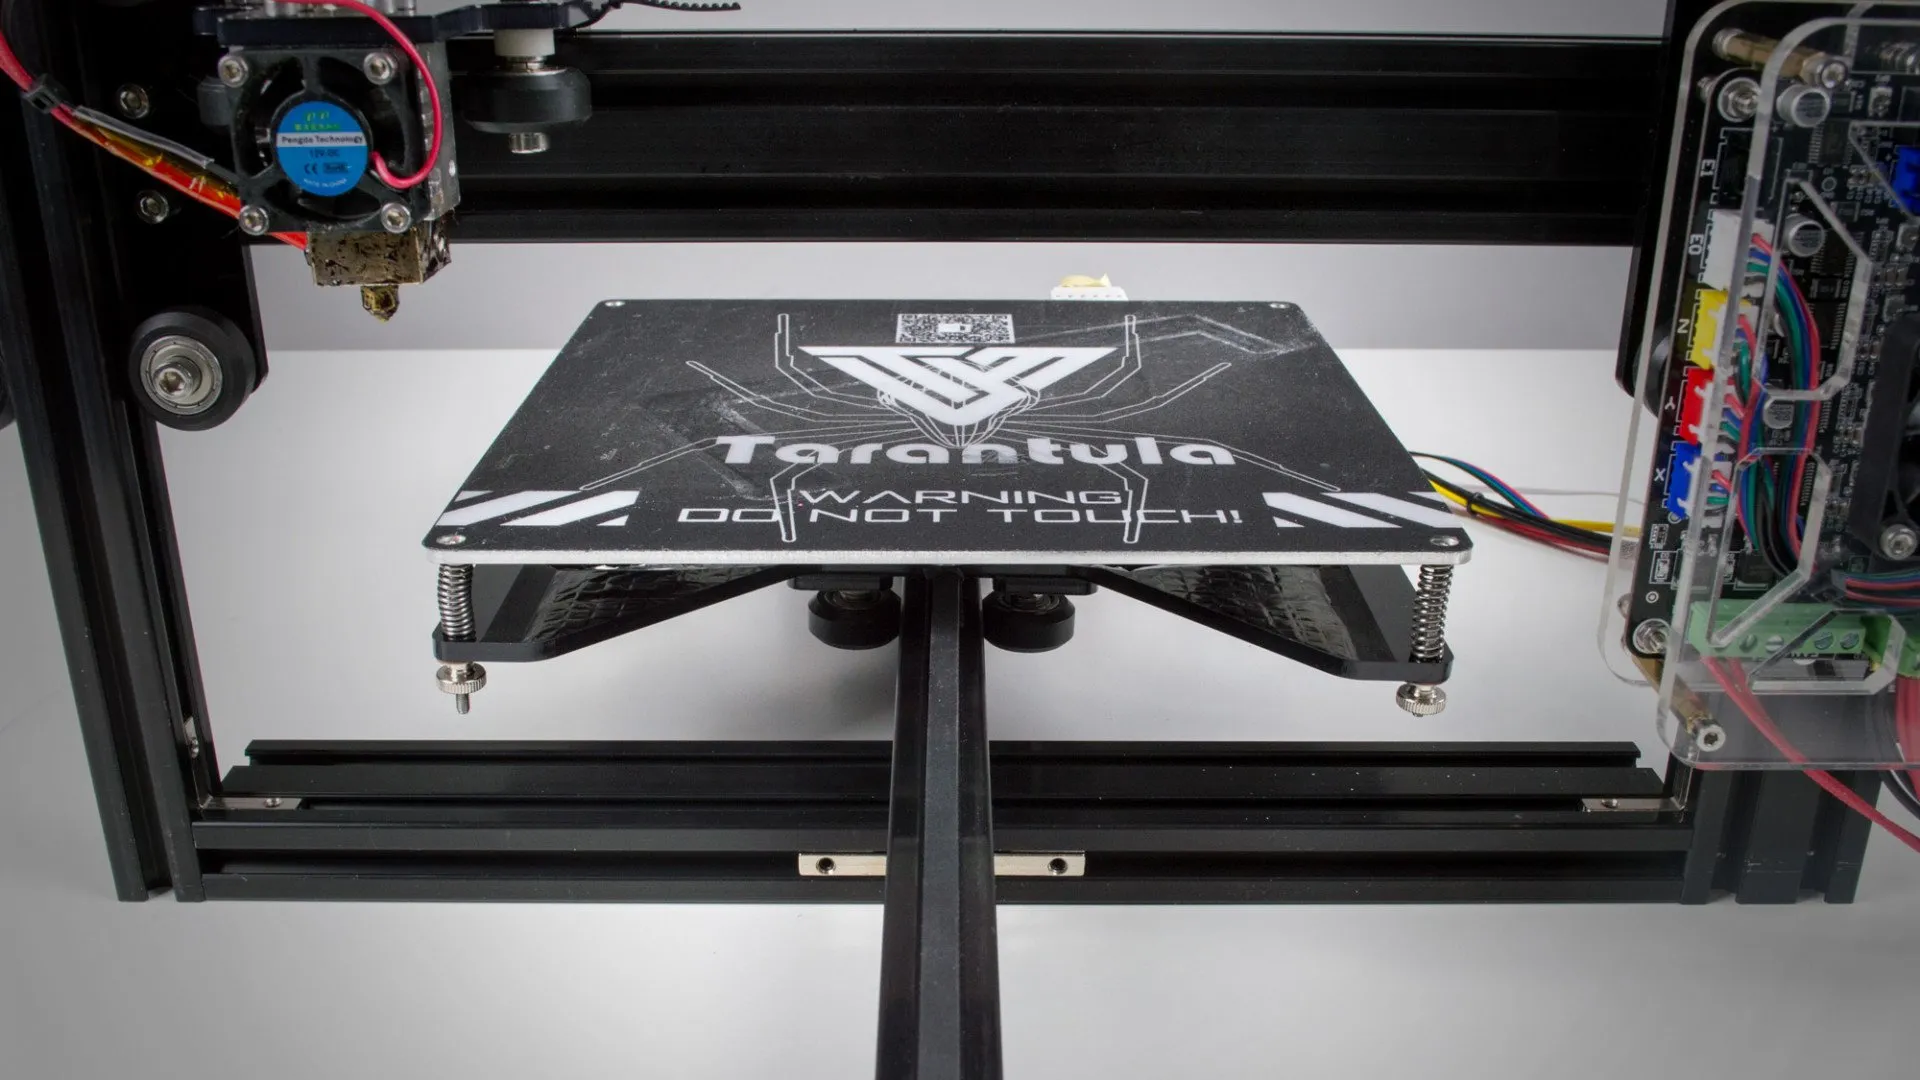
Repetier-Host offers several advantages. It supports multiple slicers, allowing you to experiment and find the best settings for your prints. It offers real-time monitoring and control features, making it easier to manage the printing process. The software’s open-source nature means it is constantly being updated and improved by a dedicated community. Furthermore, its intuitive interface makes it accessible for both beginners and experienced users. The ability to load multiple STL files and arrange them on the print bed saves time and material. These factors combine to create a powerful and flexible printing solution.
Getting Started Installation and Setup
Setting up your Tevo Tarantula with Repetier-Host begins with proper installation and printer configuration. This process ensures the software communicates effectively with your 3D printer, paving the way for successful prints. Following the correct steps during the initial setup phase is vital; it directly affects the print quality and the user experience. Taking the time to understand each step, from downloading the software to configuring your printer settings, is a fundamental aspect of operating your Tevo Tarantula.
Downloading and Installing Repetier-Host
The first step is to download the latest version of Repetier-Host from the official website. Ensure you download the correct version for your operating system. After the download is complete, run the installer and follow the on-screen instructions. The installation process is usually straightforward, but it’s advisable to read the setup instructions. Once installed, open Repetier-Host, and prepare for printer configuration, as proper installation is the foundation for a smooth workflow.
Connecting Your Tevo Tarantula
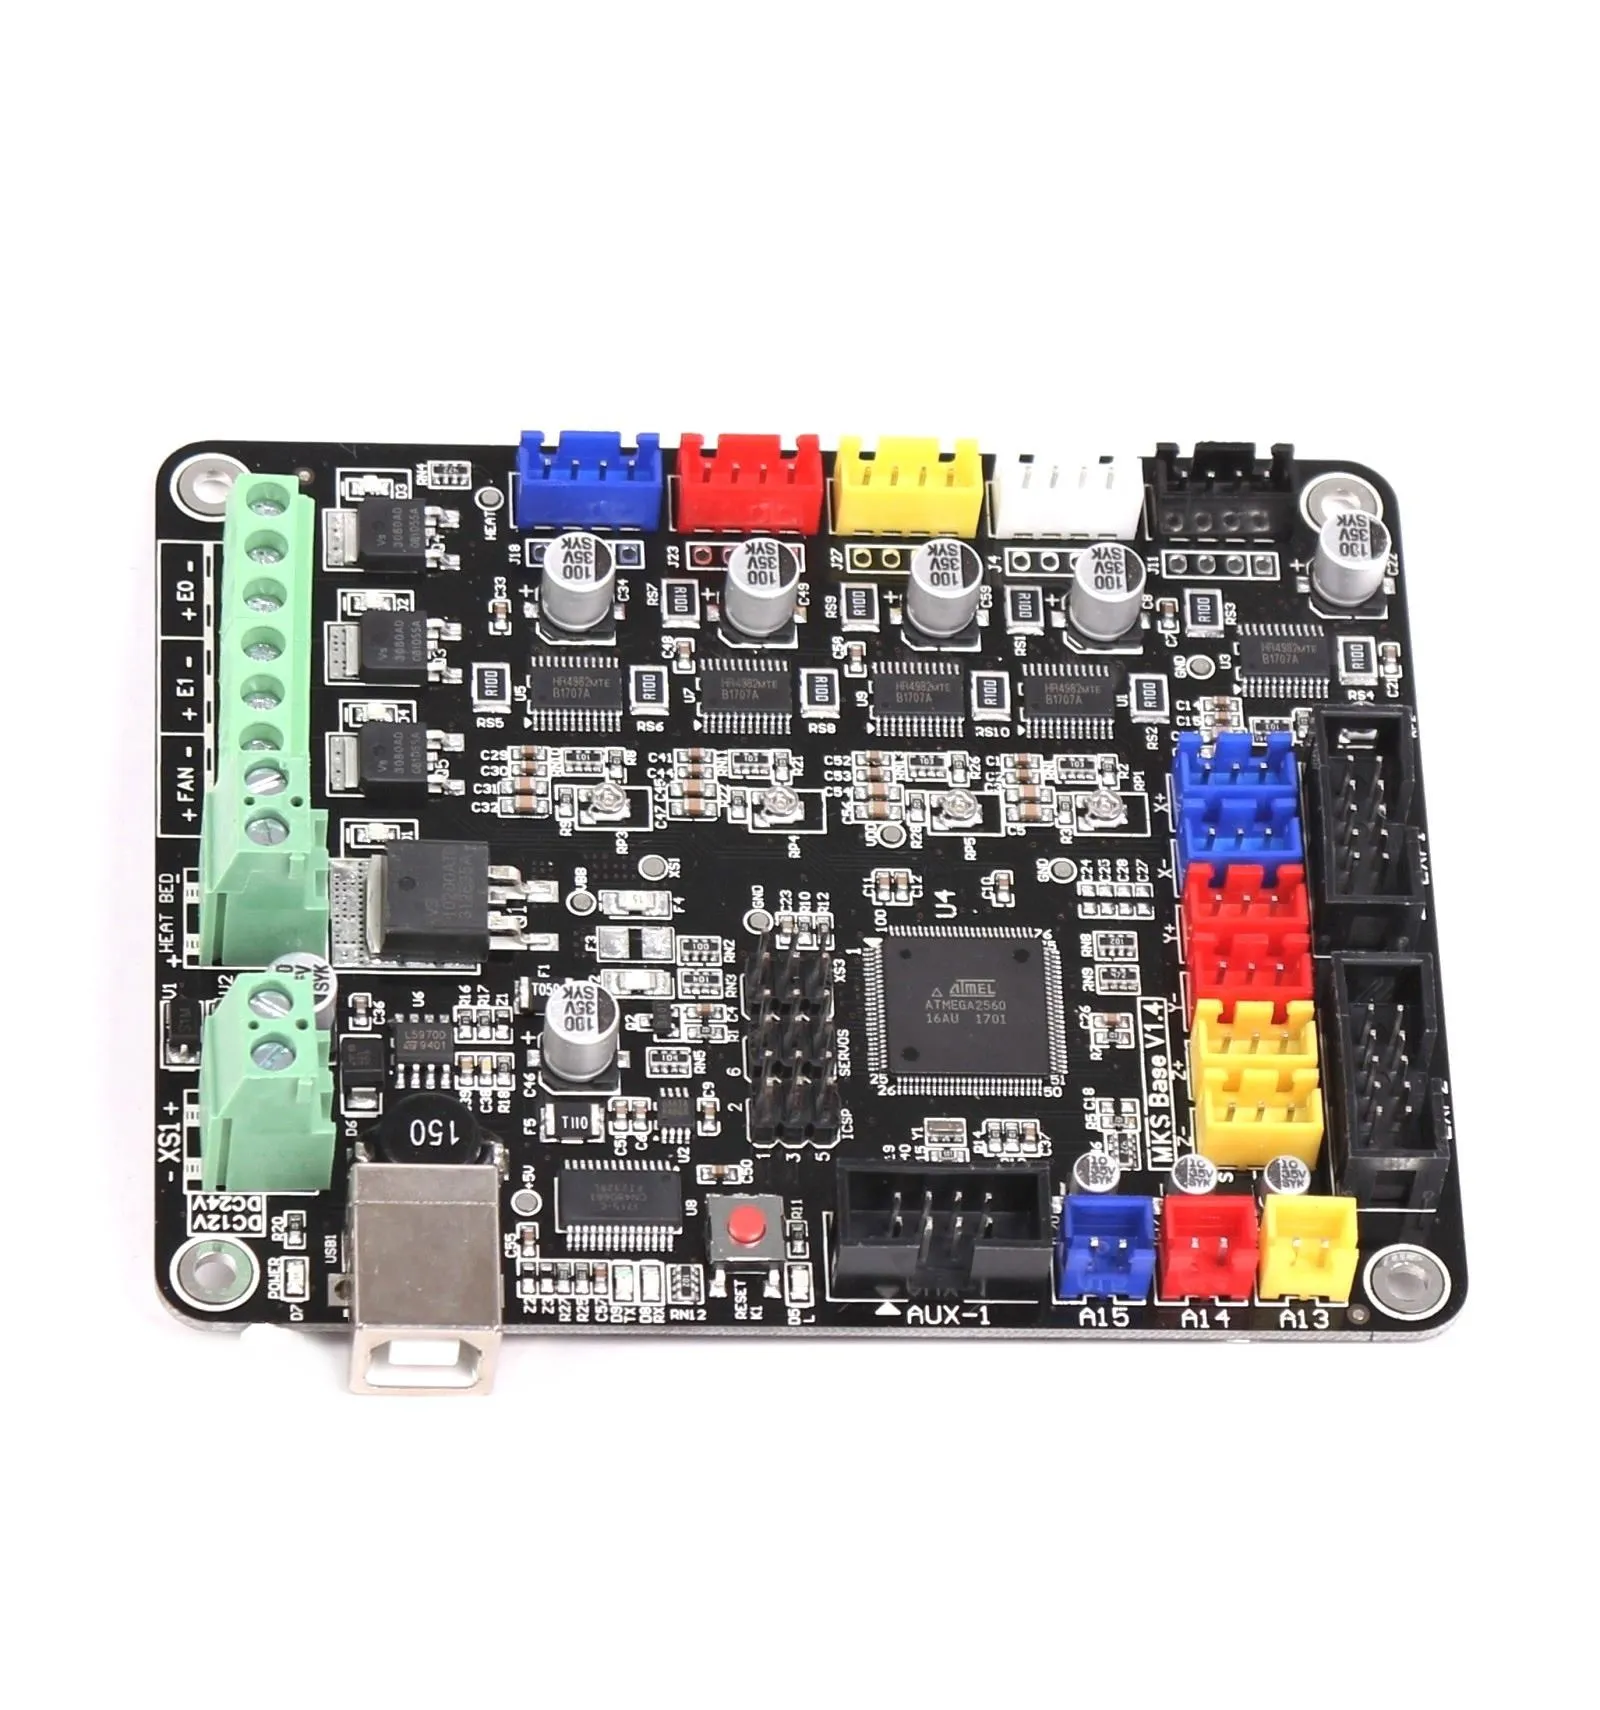
Connect your Tevo Tarantula to your computer via USB cable. Open Repetier-Host and click on the ‘Printer Settings’ button. From there, select your printer’s COM port. The printer settings window allows you to set printer dimensions, nozzle diameter, and other crucial specifications. Make sure the baud rate matches your printer’s firmware settings (usually 115200). It is important to test the connection by sending simple G-code commands. Check if the printer responds correctly by moving the axes or heating the nozzle. Correct connection guarantees control over your 3D printer via the software.
Configuring Printer Settings
Proper configuration of your printer settings is crucial for optimal print quality. These settings affect the printer’s movement, the extrusion of filament, and temperature control. Carefully configure these settings to match your printer’s hardware and the materials you are using. Incorrect settings can lead to poor print quality, nozzle clogging, and mechanical issues. Understanding these settings and how they affect the printing process is an essential part of 3D printing with the Tevo Tarantula.
Setting Up the Axes
In the printer settings, configure the dimensions of your Tevo Tarantula’s print bed (X, Y, and Z). This defines the printable area. Set the origin (usually the front-left corner) and the axis directions to match your printer’s configuration. Check the ‘Invert’ options for each axis if the movement direction in Repetier-Host is opposite of what you want. The ‘Home’ position of the printer should also be set up in Repetier-Host to ensure the printer knows its boundaries. Calibrating the axes ensures accurate positioning of the print head and correct print dimensions.
Configuring the Extruder
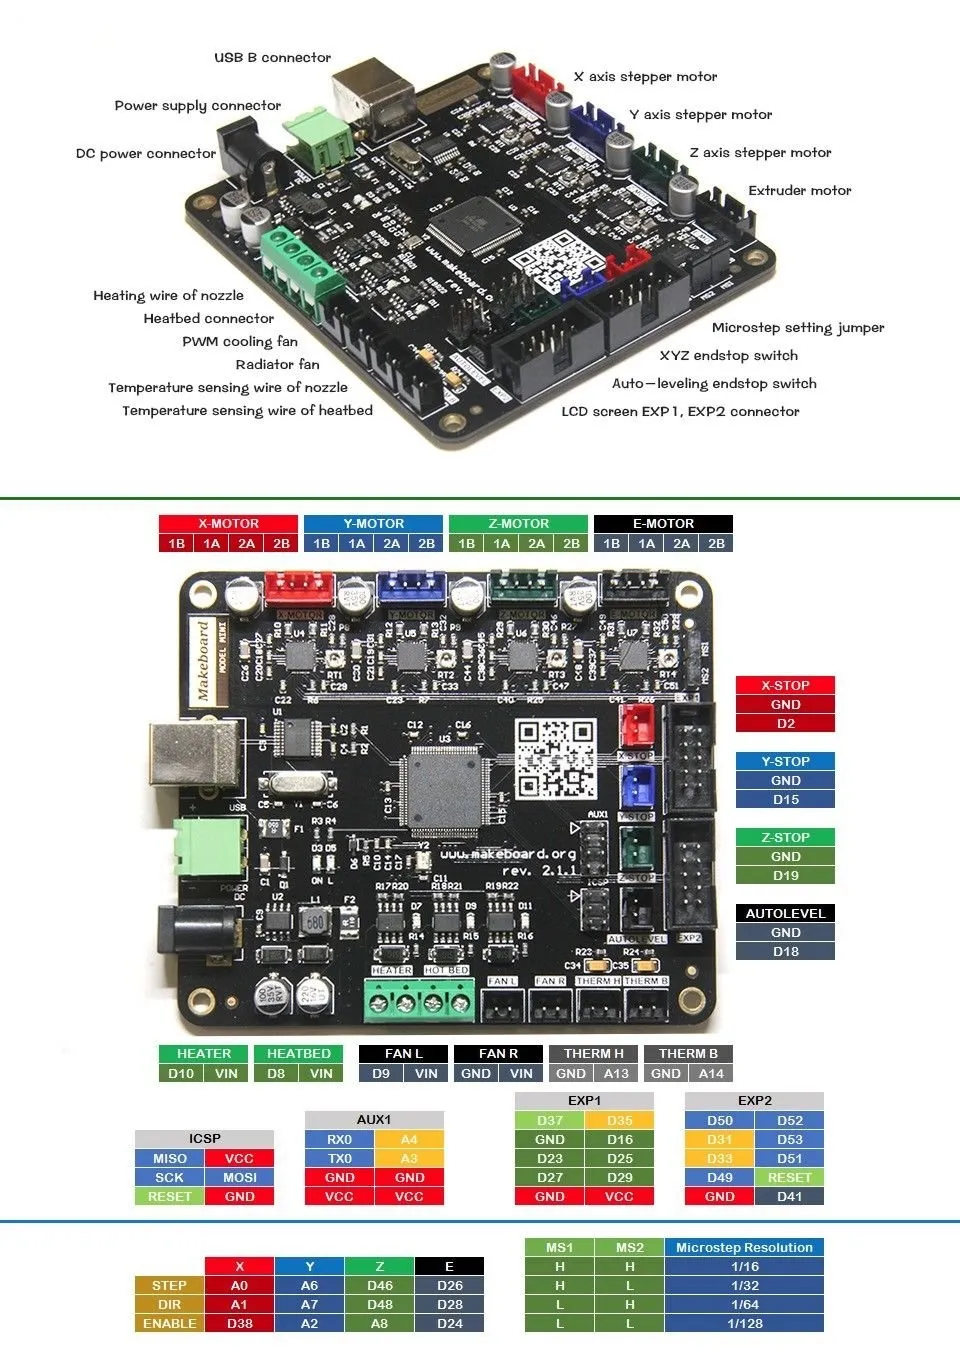
Enter the nozzle diameter, which is a critical setting for filament extrusion. The diameter impacts the thickness of each printed line. Set the filament diameter to match the filament you are using (usually 1.75 mm). The ‘Extrusion Multiplier’ (flow rate) needs to be calibrated to ensure the right amount of filament is extruded. This setting influences the print’s strength and accuracy. Proper calibration reduces under-extrusion or over-extrusion issues. Correct settings will help the printer deliver the correct amount of filament during printing.
Adjusting Temperature Settings
Temperature settings are crucial for the successful printing of different filaments. Set the nozzle temperature based on the filament manufacturer’s recommendations. Start with the recommended temperature and adjust accordingly, especially for materials such as PLA or ABS, which have different optimal printing temperatures. The ‘Bed Temperature’ setting is crucial for bed adhesion. Use a heated bed to aid the adhesion of the initial layer, particularly for ABS and other materials that are prone to warping. Always begin with lower temperature settings and increase them incrementally. The optimal temperature for your specific filament and printer setup may require some experimentation.
Optimizing Slicing Settings
Slicing settings play a critical role in determining the quality and speed of your prints. These settings translate the 3D model into G-code instructions that the printer follows to create the physical object. Optimizing slicing settings leads to better print quality, reduces printing time, and conserves filament. Understanding these settings and experimenting with them will significantly improve your prints.
Layer Height and Print Speed
Layer height significantly affects the print quality and print time. Thinner layers (e.g., 0.1 mm) yield smoother surfaces but take longer to print. Thicker layers (e.g., 0.3 mm) print faster but may result in less detail. The ideal layer height depends on the model’s complexity and your desired quality. Print speed affects the print time and the quality of the print. For detailed prints, use lower speeds (e.g., 40-60 mm/s). Increase print speed for larger parts, although this may affect surface quality. Finding the right balance between layer height and print speed is key to achieving high-quality and timely prints. You can adjust print speed during the print to observe the effect.
Infill Density
Infill density determines how much material is used to fill the inside of your print. Higher infill density (e.g., 50-100%) results in stronger prints but uses more filament and takes longer. Lower infill density (e.g., 10-20%) results in faster printing but makes the print weaker. The infill pattern also plays a role. Choices like ‘Grid,’ ‘Honeycomb,’ or ‘Triangles’ affect the strength and print time. Select the infill density and pattern appropriate for the print’s purpose. For functional parts, higher infill is usually preferred. For visual models, a lower density might be sufficient.
Support Structures
Support structures are essential for printing models with overhangs or bridges. The slicer generates supports to prop up these areas, ensuring the model is built correctly. Various support settings affect the supports’ density, pattern, and the distance from the model. Correct support settings are important to prevent the support from bonding too strongly with the print and causing damage during removal. Using soluble supports (e.g., PVA) simplifies post-processing. Experiment with support settings to achieve a balance between support and ease of removal. This requires a good balance of providing support and not being too difficult to remove.
Bed Adhesion Strategies
Proper bed adhesion is essential to avoid warping and ensure your prints stick to the print bed. Several strategies can improve bed adhesion, helping you get more consistent and successful prints. These techniques are designed to increase the surface area contact between the print and the bed, making your prints remain fixed during printing. Implementing bed adhesion strategies prevents the print from lifting off the bed and ensures a high-quality finished product.
Leveling the Bed
Leveling the print bed is the first step towards achieving good bed adhesion. The nozzle must be at the correct distance from the bed. Manual bed leveling requires adjusting the bed height using leveling screws, ensuring that the nozzle is at the right distance from the bed. Automatic bed leveling (ABL) uses sensors to map the bed surface, compensating for any imperfections. Whether using manual or automatic bed leveling, the goal is to ensure the nozzle is at the proper distance from the bed. Leveling ensures the first layer adheres correctly, preventing warping and other print defects.
Using Adhesives
Applying adhesives can further enhance bed adhesion. Common adhesives include glue sticks, hairspray, and blue painter’s tape. Apply a thin, even layer to the print bed before printing. The adhesive creates a surface for the first layer of filament to stick to. The appropriate adhesive depends on the filament used. For example, glue sticks are often used with PLA, while ABS may benefit from a solution of ABS in acetone. Consider using a heated bed combined with adhesives, especially for materials prone to warping. These adhesives provide an extra layer of security, ensuring that your prints do not lift off the bed during the printing process.
Troubleshooting Common Printing Issues
Despite all the best settings, problems can still arise. Addressing common printing issues efficiently saves both time and filament. Identifying and fixing these problems is a critical part of the 3D printing process. Learning to recognize these issues and how to correct them is vital to becoming a successful 3D printer operator. Having a troubleshooting process in place, in case the printing experience does not go as planned is crucial.
Nozzle Clogging
Nozzle clogging is a common issue, usually caused by incorrect temperature settings, impurities in the filament, or debris. If the nozzle is clogged, the filament won’t extrude correctly, and the printer may stop printing. Increase the nozzle temperature slightly to see if this helps. If the clog persists, use a cleaning needle to clear the nozzle. You can also perform a cold pull by heating the nozzle, extruding some filament, and then cooling the nozzle and removing the filament. Always ensure your filament is clean and dry. Proper maintenance, like regular nozzle cleaning, helps avoid clogs and ensures the printer’s long-term operation.
Warping and Bed Adhesion Problems
Warping occurs when the print curls up from the bed, often caused by uneven cooling or poor bed adhesion. Use a heated bed, especially for materials like ABS. Ensure the bed is level, and use adhesives like glue sticks or painter’s tape. Increasing the bed temperature a few degrees may help. Enclosing the printer can also maintain a consistent temperature around the print. Implementing a brim (a wider base around the print) can also help increase bed adhesion. Avoiding drafts or temperature fluctuations in the printing environment can also reduce warping.
Over-Extrusion and Under-Extrusion
Over-extrusion happens when too much filament is extruded, leading to blobs or imperfections. Under-extrusion occurs when too little filament is extruded, resulting in gaps or weak layers. Calibrate the ‘Extrusion Multiplier’ setting to correct these issues. Check the nozzle temperature and print speed. Also, inspect the extruder for any issues. Calibrating the extruder correctly, ensuring correct temperature settings and print speeds, helps ensure that the right amount of filament is extruded. These issues can significantly affect the print’s structural integrity and visual appeal.
Advanced Settings and Optimization
Beyond basic settings, there are advanced options to further optimize your prints. Exploring these settings can significantly improve the performance and quality of your prints. These settings are geared towards users looking to extract as much performance and quality from their 3D printer as possible. These adjustments require more experience and fine-tuning, but they offer significant benefits.
Firmware Updates
Keeping your printer’s firmware up-to-date is important for performance and security. The firmware controls the printer’s basic functions. Regularly checking for and installing firmware updates may provide improved functionality, bug fixes, and new features. Ensure that the firmware is compatible with your printer model. Follow the manufacturer’s instructions carefully. Firmware updates can resolve issues and enhance the printer’s overall performance, increasing its reliability.
PID Tuning
PID (Proportional-Integral-Derivative) tuning optimizes the temperature control of the nozzle and the heated bed. PID tuning helps to maintain a stable temperature, which is critical for consistent print quality. PID tuning may involve calculating and setting specific values within the printer’s firmware. This helps ensure accurate and responsive temperature control. Poor temperature control can cause under-extrusion or over-extrusion. Use PID tuning to stabilize the temperature and improve printing accuracy.
Custom G-code
Custom G-code allows you to fine-tune the printer’s behavior beyond the standard slicer settings. G-code is the language that the printer understands, allowing you to set specific actions. You can add custom start and end G-code scripts to Repetier-Host. These scripts can control functions such as preheating the bed, adjusting fan speeds, or positioning the nozzle at the end of the print. Using custom G-code can lead to tailored printing results. This will give you more control over the printing process and improve print quality.
Conclusion
Optimizing your Tevo Tarantula Repetier settings is an ongoing process, where understanding the settings and how to manipulate them is a core concept. By mastering these settings, you can significantly improve your print quality, reduce troubleshooting time, and fully unlock the Tevo Tarantula’s potential. Remember that experimentation is key; adjust the settings to suit your specific materials and print requirements. By carefully configuring and maintaining your settings, you’ll create better prints with more reliability and consistency. Embrace the learning curve and enjoy the satisfying results of well-optimized 3D prints.
