What is the Tevo Tarantula?
The Tevo Tarantula is a popular and affordable 3D printer, often praised for its ease of assembly and relatively large build volume for its price point. It’s a great choice for beginners looking to get into 3D printing without breaking the bank, while also offering enough features to satisfy more experienced users. This user manual is designed to provide you with essential tips and guidance to successfully use your Tevo Tarantula 3D printer. We will cover everything from unboxing and assembly to troubleshooting common issues, ensuring you get the most out of your 3D printing experience. By following these tips, you’ll be well on your way to creating amazing 3D printed objects.
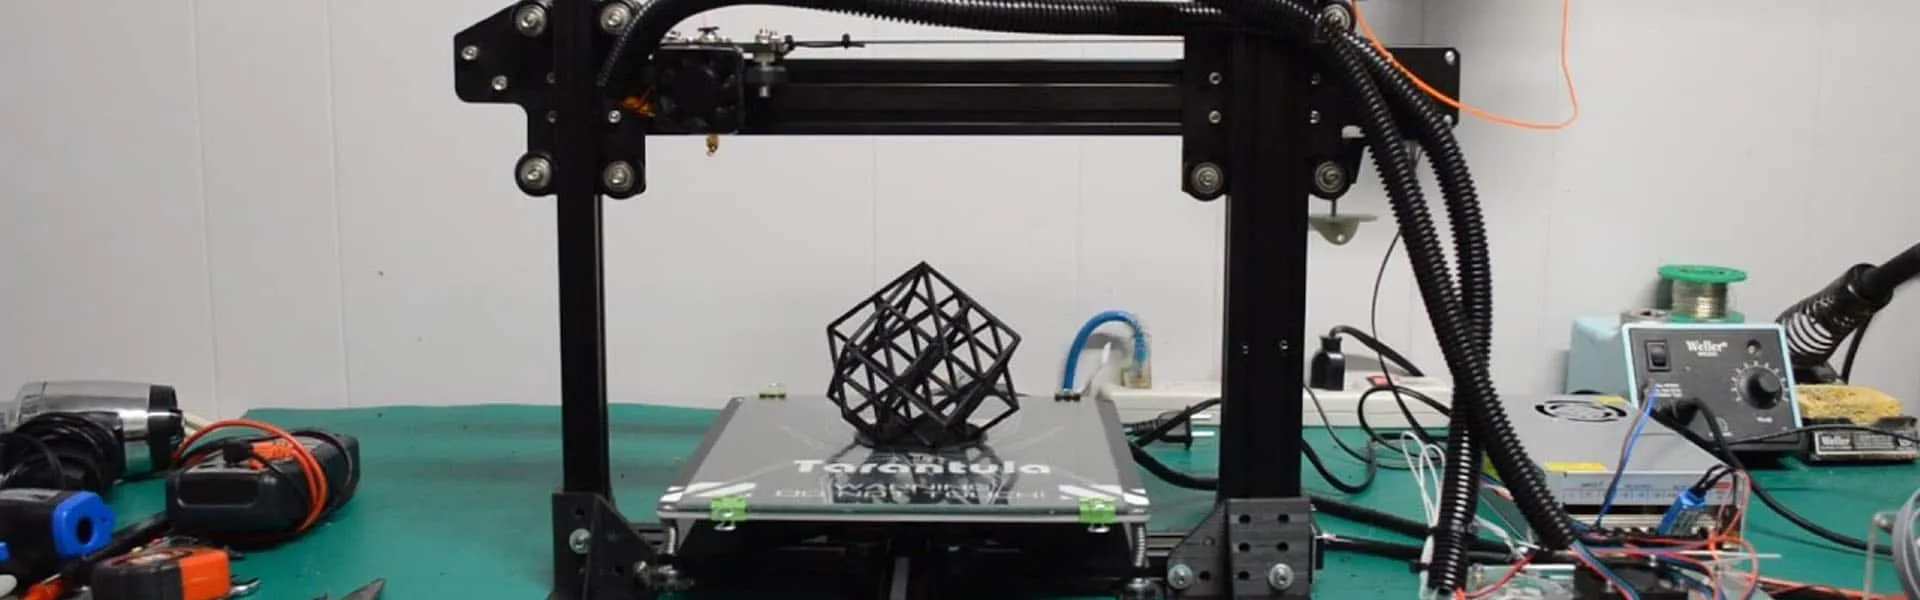
Unboxing and Assembly Guide
Unboxing your Tevo Tarantula is the first step. Carefully unpack all the components and check against the parts list in your Tevo Tarantula user manual. Ensure everything is present and undamaged. Assembly typically involves attaching the frame components, installing the heated bed, and connecting the various electronic components. The user manual provides step-by-step instructions, often with diagrams, to guide you through the assembly process. Take your time, follow the instructions precisely, and double-check all connections. Proper assembly is crucial for the printer’s performance and longevity. Make sure all screws are tightened securely, but avoid over-tightening, which could damage the frame or components. Refer to online videos if necessary for visual guidance.
Prepare Your Tevo Tarantula for First Use

Before your first print, you need to prepare your Tevo Tarantula. This involves making sure all the connections are secure, the belts are tensioned correctly, and the printer is generally ready to operate. Check the wiring to ensure no wires are loose or improperly connected. Examine the belts for the X, Y, and Z axes; they should be taut, but not overly tight, as this can cause wear and tear on the motors. Furthermore, it’s essential to familiarize yourself with the printer’s control panel. Learn how to navigate the menus, control the temperature, and home the printer. These basic operations are fundamental to using the printer. Carefully inspect the print bed and the hot end to make sure they are clean and free from any debris left over from the assembly.
Leveling the Print Bed
Bed leveling is one of the most critical steps for successful 3D printing. A level bed ensures the first layer of your print adheres properly. The Tevo Tarantula typically uses a manual bed leveling system, which involves adjusting the bed height using screws located at the corners of the print bed. Start by homing the printer, which moves the nozzle to the home position, usually the front-left corner. Then, using a piece of paper as a gauge, adjust the bed height at each corner until the nozzle slightly grips the paper as you move it. Repeat this process until the nozzle has the same grip on the paper at all four corners. This adjustment will ensure the first layer sticks properly and gives you a perfect print. Many users upgrade the bed to make this process easier, so keep an eye on that.
Heating the Nozzle and Bed
Before printing, you need to heat the nozzle and the print bed to the appropriate temperatures for your chosen filament. The optimal temperatures vary depending on the filament type. PLA (Polylactic Acid) typically prints at a nozzle temperature of around 190-220°C and a bed temperature of 50-60°C. ABS (Acrylonitrile Butadiene Styrene) requires a higher nozzle temperature (230-250°C) and a bed temperature of 80-110°C. Consult your filament manufacturer’s recommendations for the best temperature settings. Use the control panel to set the desired temperatures and allow the printer to heat up before starting the print. Make sure that the temperatures are stable before you start to print. Always allow the nozzle to cool completely before cleaning it. Inconsistent temperatures can lead to print defects, so it is necessary to have a good level of control on this side.
Loading Filament Correctly

Loading filament is a straightforward process, but it’s essential to do it correctly to prevent jams and ensure smooth printing. First, insert the filament spool onto the spool holder. Then, cut the end of the filament at a 45-degree angle to create a sharper point. Next, heat the nozzle to the recommended temperature for your filament type. Once the nozzle is hot, insert the filament into the extruder, pushing it down until it reaches the nozzle and begins to extrude. You might need to manually push the filament through or use the printer’s feed function. Verify the filament is flowing smoothly, and adjust the feed rate as needed. Ensure the filament is feeding properly before starting your print. If the filament doesn’t extrude, check for clogs in the nozzle or issues with the extruder.
First Print Tips
For your first print, select a simple model, like a calibration cube or a small object, that’s readily available online. Slice the model using a slicer software like Cura or Simplify3D. Slicing is the process of converting a 3D model into instructions that your printer can understand. Configure the slicing settings to match your filament type and desired print quality. Start with default settings and experiment as you gain experience. Before starting the print, ensure the bed is level and the nozzle and bed temperatures are correct. Monitor the first layer closely to ensure it adheres properly. Adjust the bed level or the nozzle height if necessary during the first layer. Once the print is complete, allow it to cool before removing it from the bed. This prevents warping and makes removal easier. If the object doesn’t stick, consider using adhesives.
Calibration and Settings Adjustment
Calibrating your Tevo Tarantula is essential for optimal print quality. This involves adjusting various settings in your slicer software, such as the flow rate, retraction settings, and print speed. The flow rate determines the amount of filament extruded, so it should match your filament properties. Retraction settings control how much the filament retracts to prevent stringing. Print speed affects print time and quality, so adjust it according to your needs. Print a calibration cube or test model to identify areas for improvement. Make small adjustments to the settings and print the test model again until you achieve the desired results. Keep a record of your settings for each filament type. This will help you repeat successful prints and troubleshoot issues. Some users suggest setting the Z-offset to prevent the nozzle from scratching the bed.
Maintaining the Tevo Tarantula

Regular maintenance extends the life of your Tevo Tarantula and ensures consistent print quality. Regularly clean the print bed to remove any residue or debris. Wipe down the nozzle and hot end after each print to prevent filament buildup. Lubricate the linear bearings and threaded rods with a suitable lubricant, such as lithium grease, to reduce friction and wear. Check and tighten the belts periodically to maintain tension. Inspect the wiring for any damage or loose connections. Ensure the cooling fan is clean and functioning correctly. Check the firmware updates, it is possible that your printer has some issues that are fixed in newer releases. Following these maintenance tips will help keep your Tevo Tarantula running smoothly for years to come.
Troubleshooting Common Issues
Even with proper setup and maintenance, you may encounter issues. Common problems include poor bed adhesion, nozzle clogs, stringing, and layer shifting. If the print doesn’t stick to the bed, ensure the bed is level, clean, and that you’re using the correct bed temperature and possibly adhesives. Nozzle clogs can often be cleared by heating the nozzle and using a needle or specialized tool. Stringing, which is fine strands of filament, can be reduced by adjusting the retraction settings in your slicer. Layer shifting, where the layers of the print are misaligned, may be caused by loose belts or incorrect motor current settings. Refer to the troubleshooting section of the Tevo Tarantula user manual for detailed solutions to these and other issues. Additionally, online forums and communities provide valuable resources for troubleshooting and support.